Making a tiny Viola
January 2019

This month I have been making another viola the size of a violin. The main reason to make such a small instrument is for youngsters who want to play the viola but are not yet big enough to play anything larger than a violin. It is of course possible to put viola strings on a violin, but the sound, particularly on the C string, is usually very weak.
The idea behind this very small viola is to use the techniques refined by making normal small violas and incorporate them into a violin sized instrument, whilst changing a couple of details to make the instrument quicker to build, and therefore cheaper. The most obvious difference with this instrument is the lack of corners. Without the corner blocks, the back and belly are freer to move which enhances the lower frequencies. Compared with a violin, the body is also wider and the f holes further apart, again to help the sound.
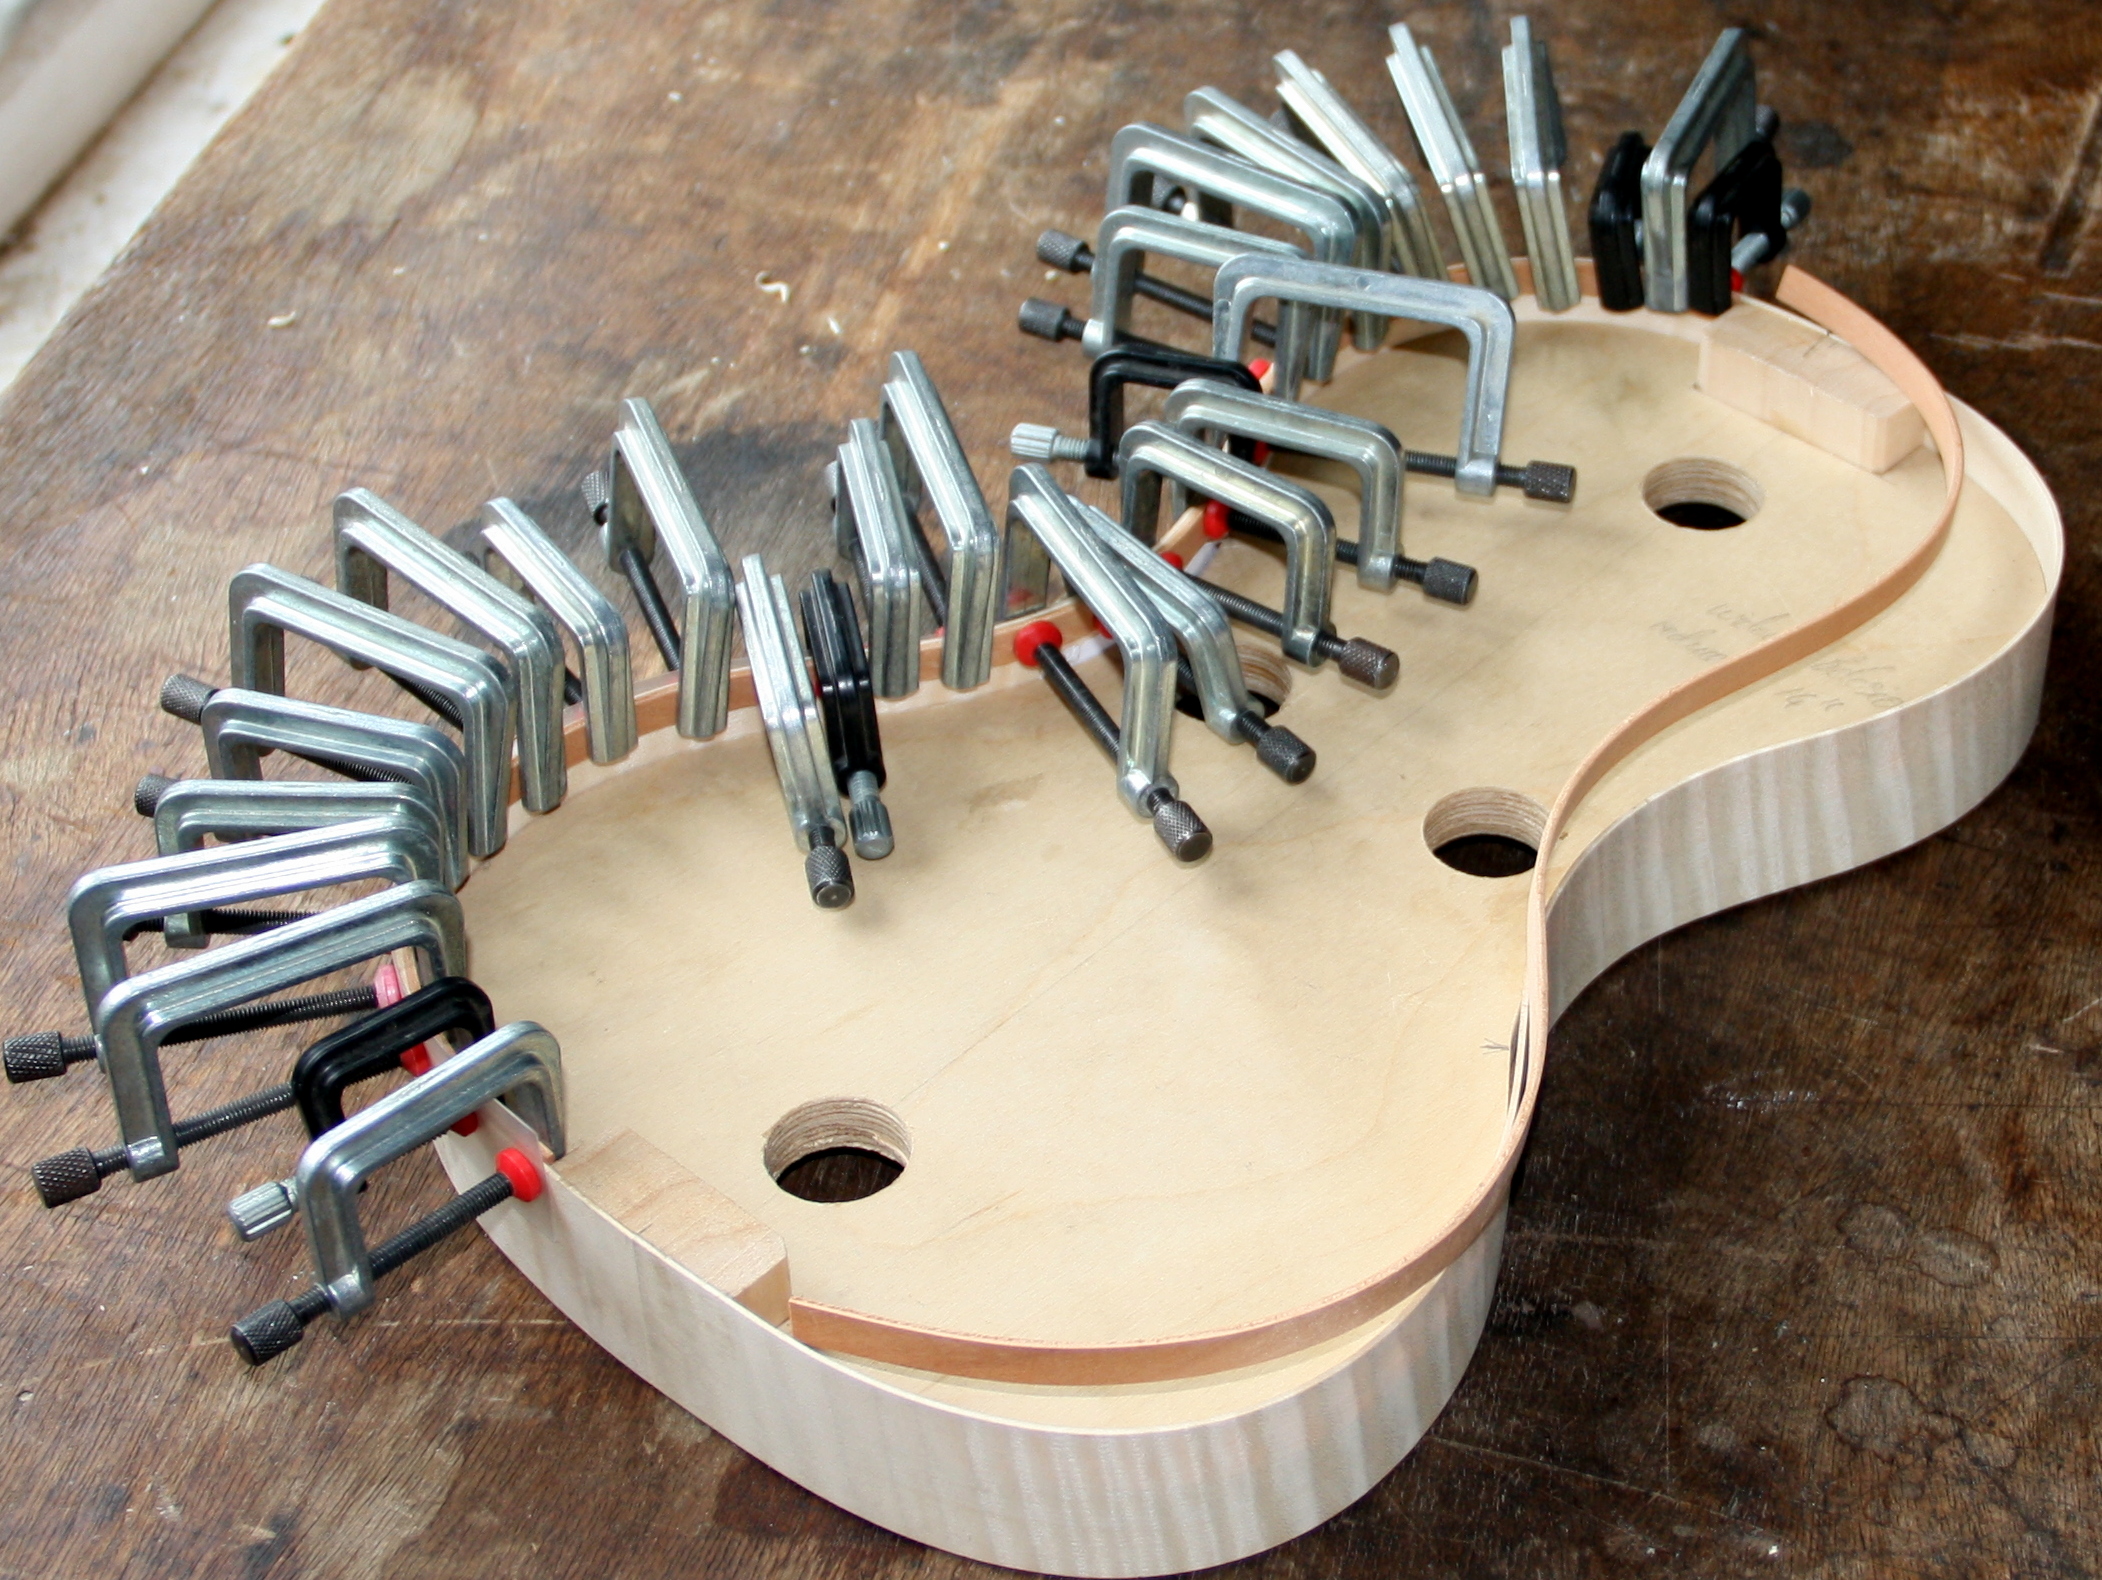
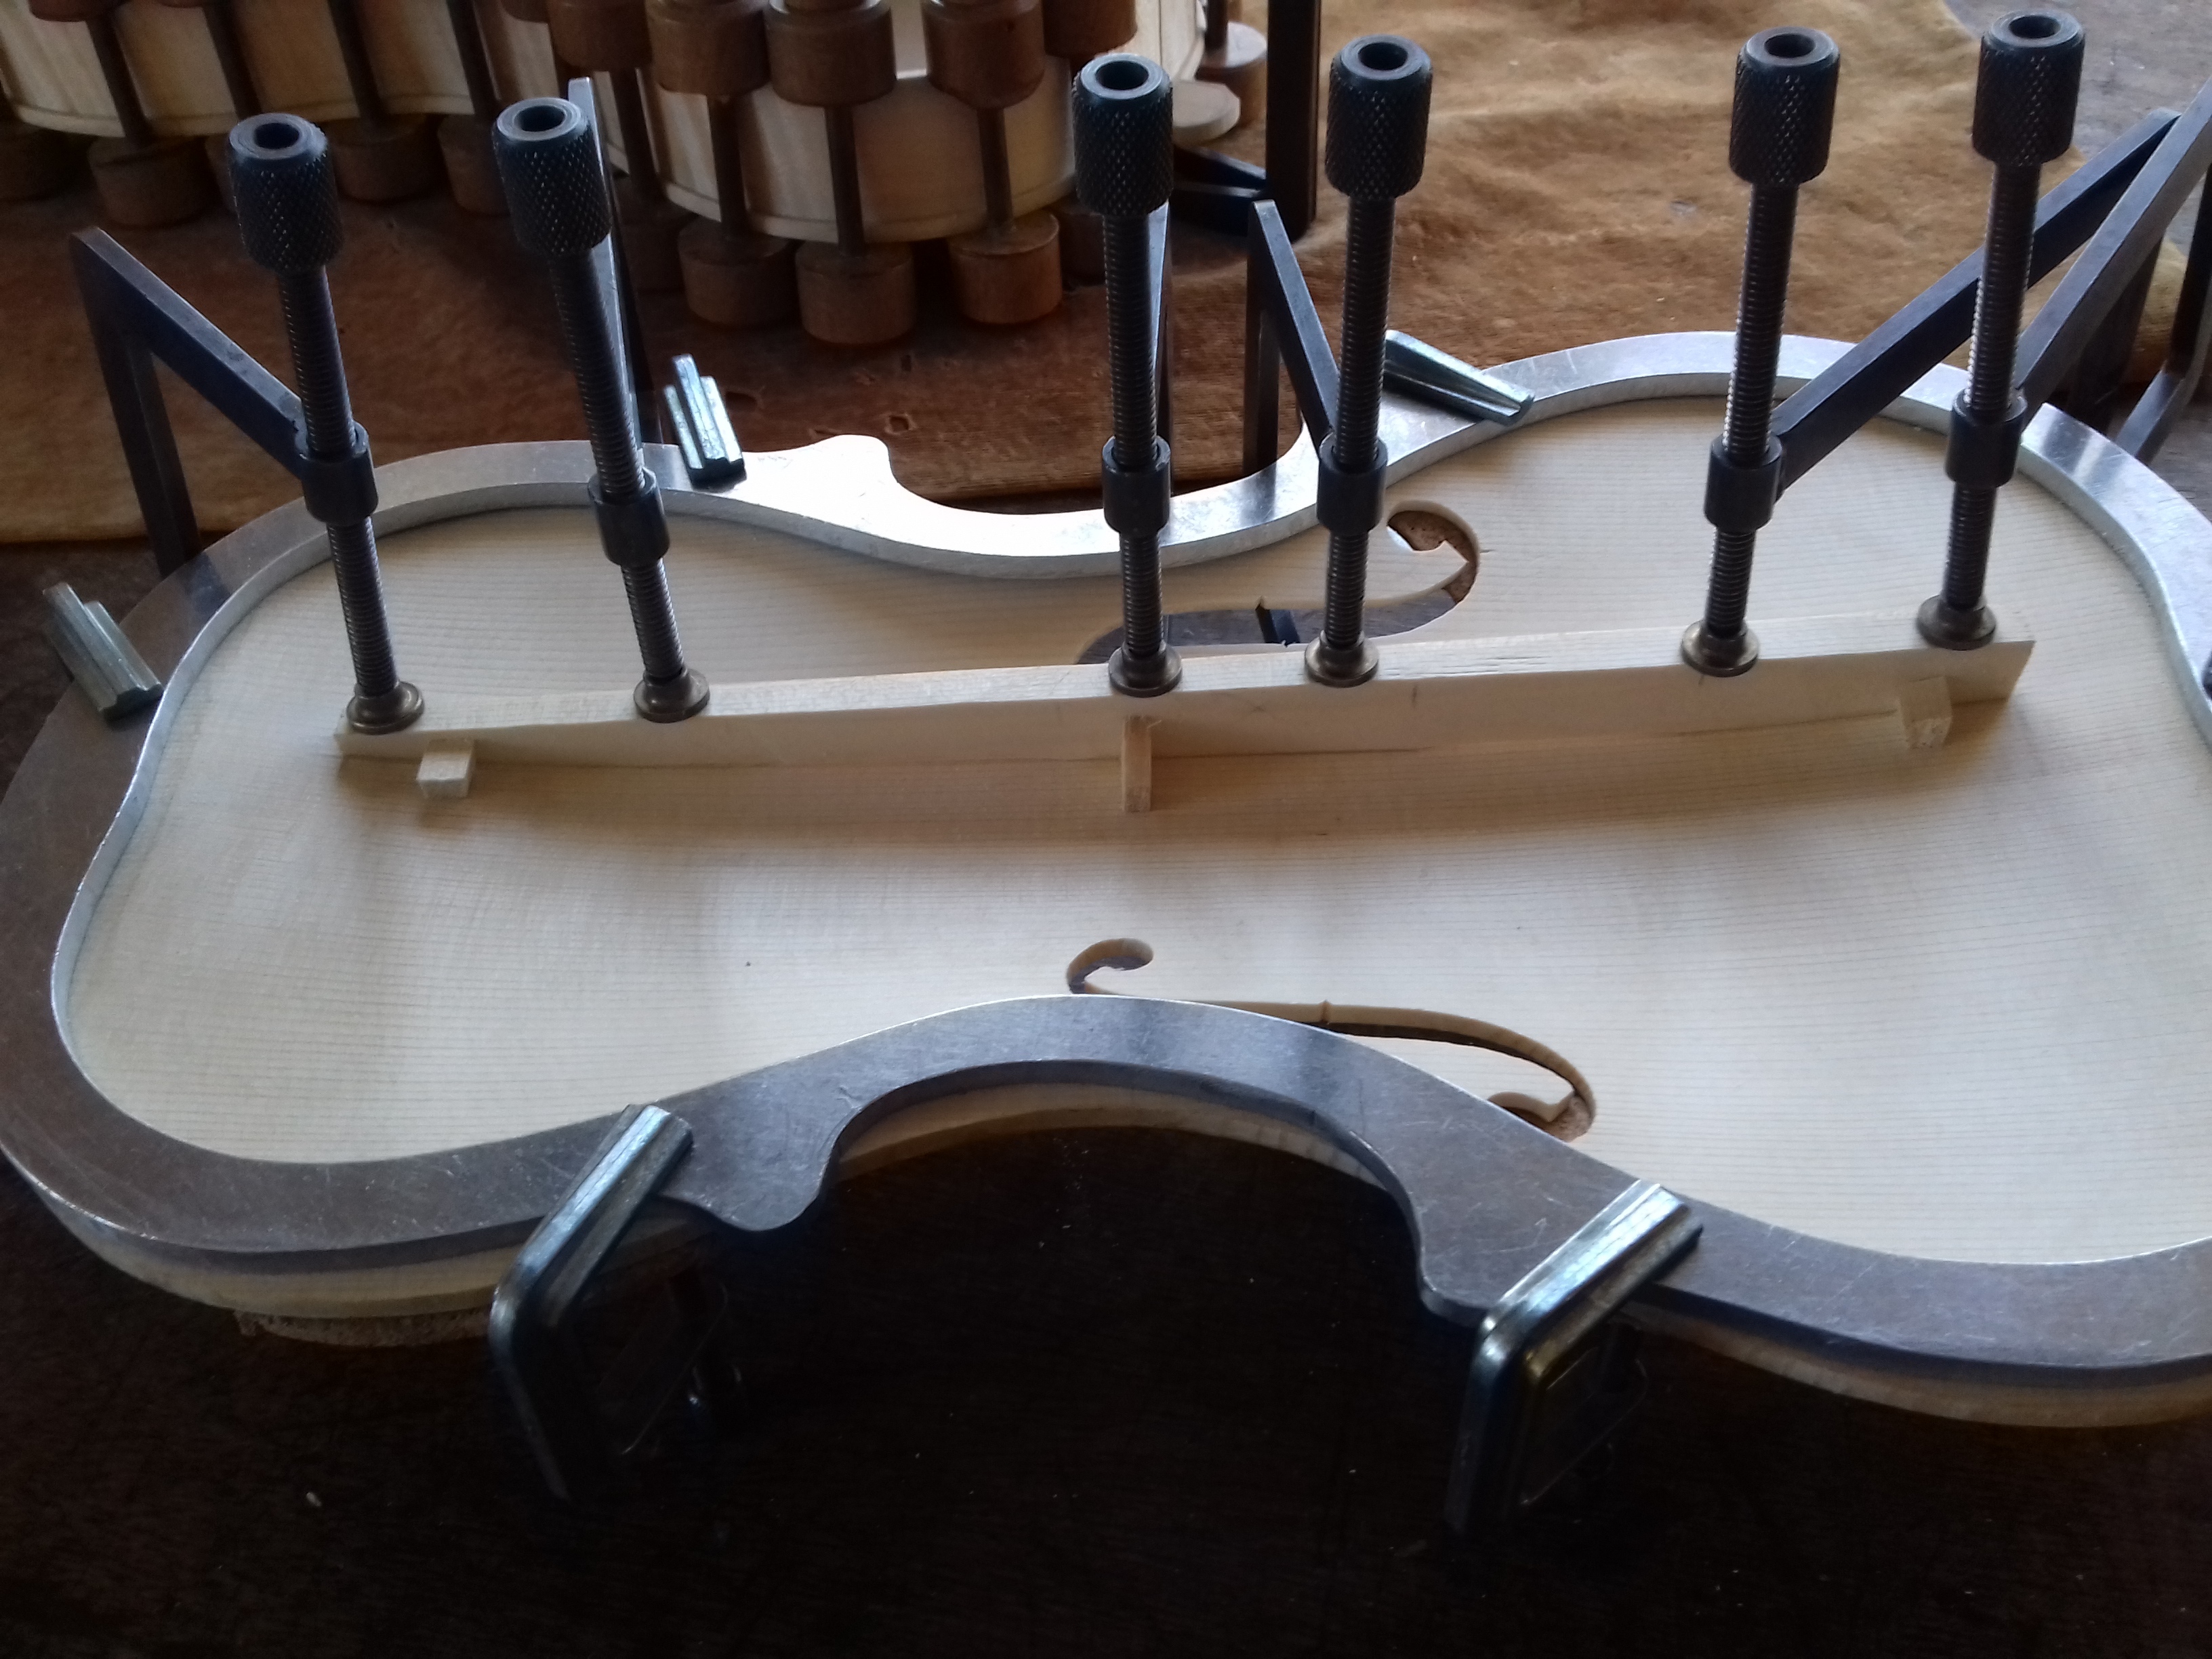
The first step in making any instrument is making the ribs. In this case there are only two blocks, the bottom block which the endpin goes into, and the top block into which the neck is fitted. The picture shows the ribs being clamped in place. Because there are no corner blocks, I glue the waist section of the ribs to the mould, but with paper in between to make the mould easier to remove later.
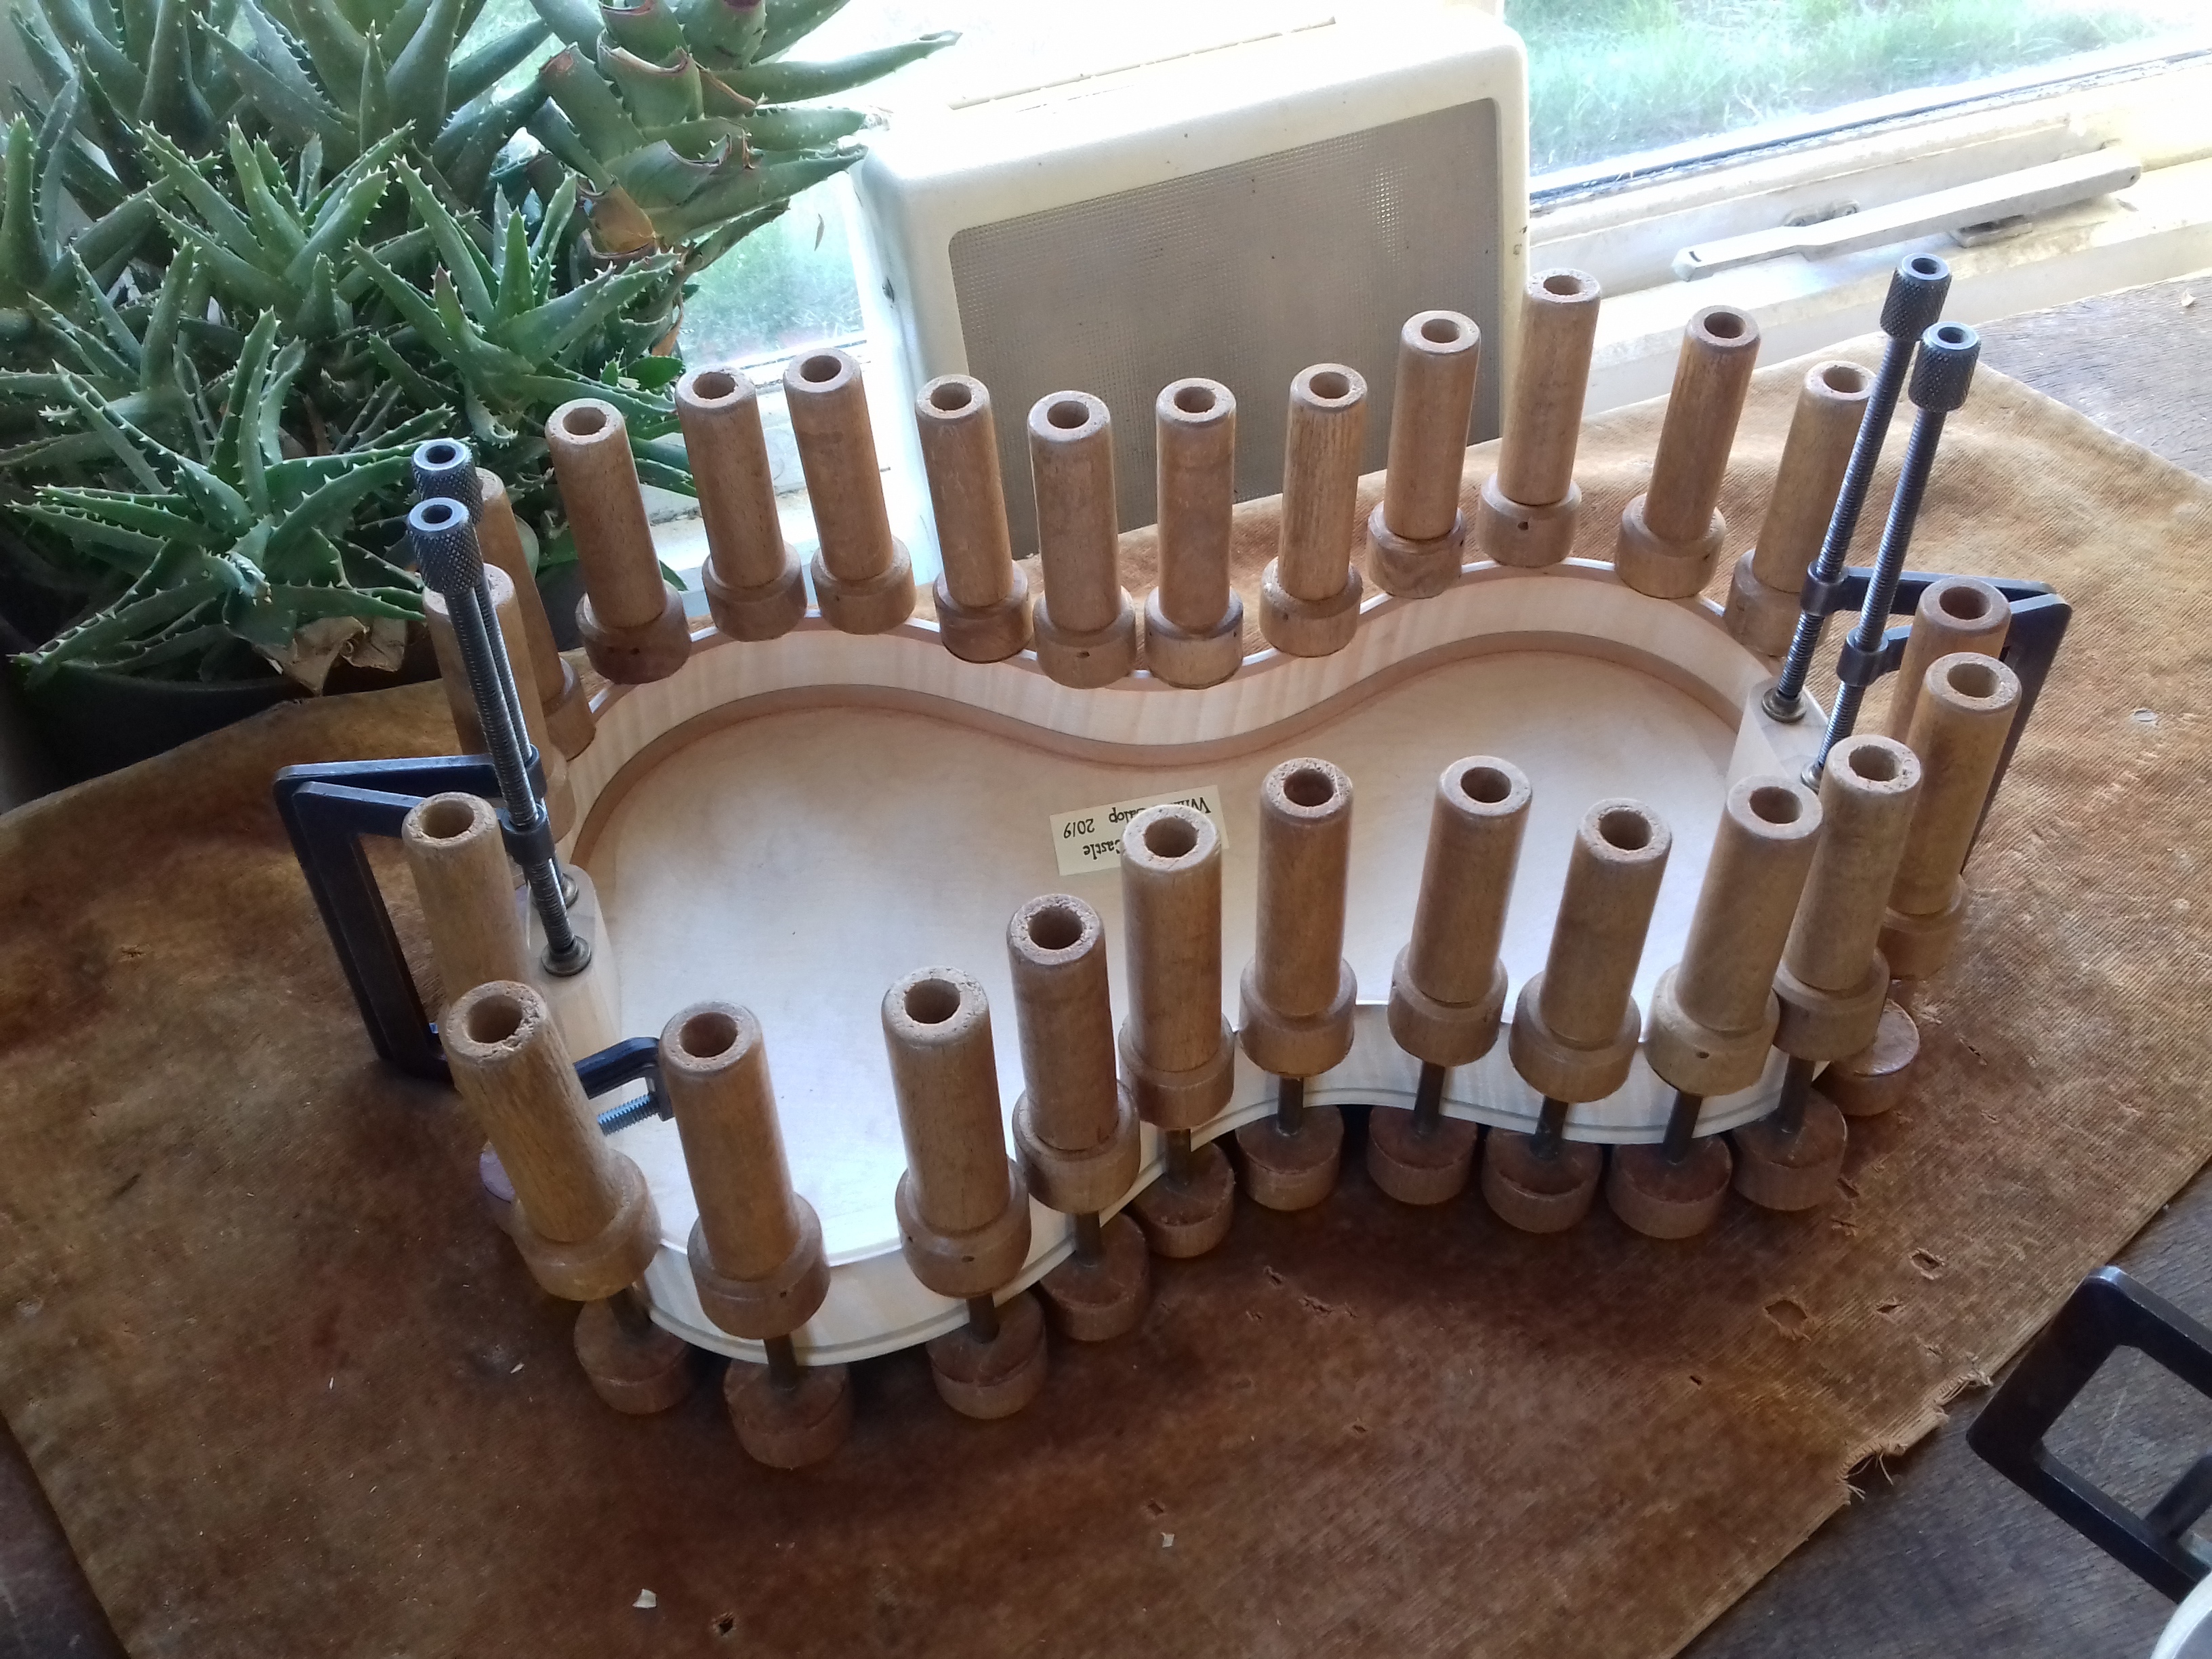
The linings, shown here being clamped in position, strengthen the ribs and provide a larger gluing surface for the back and belly.
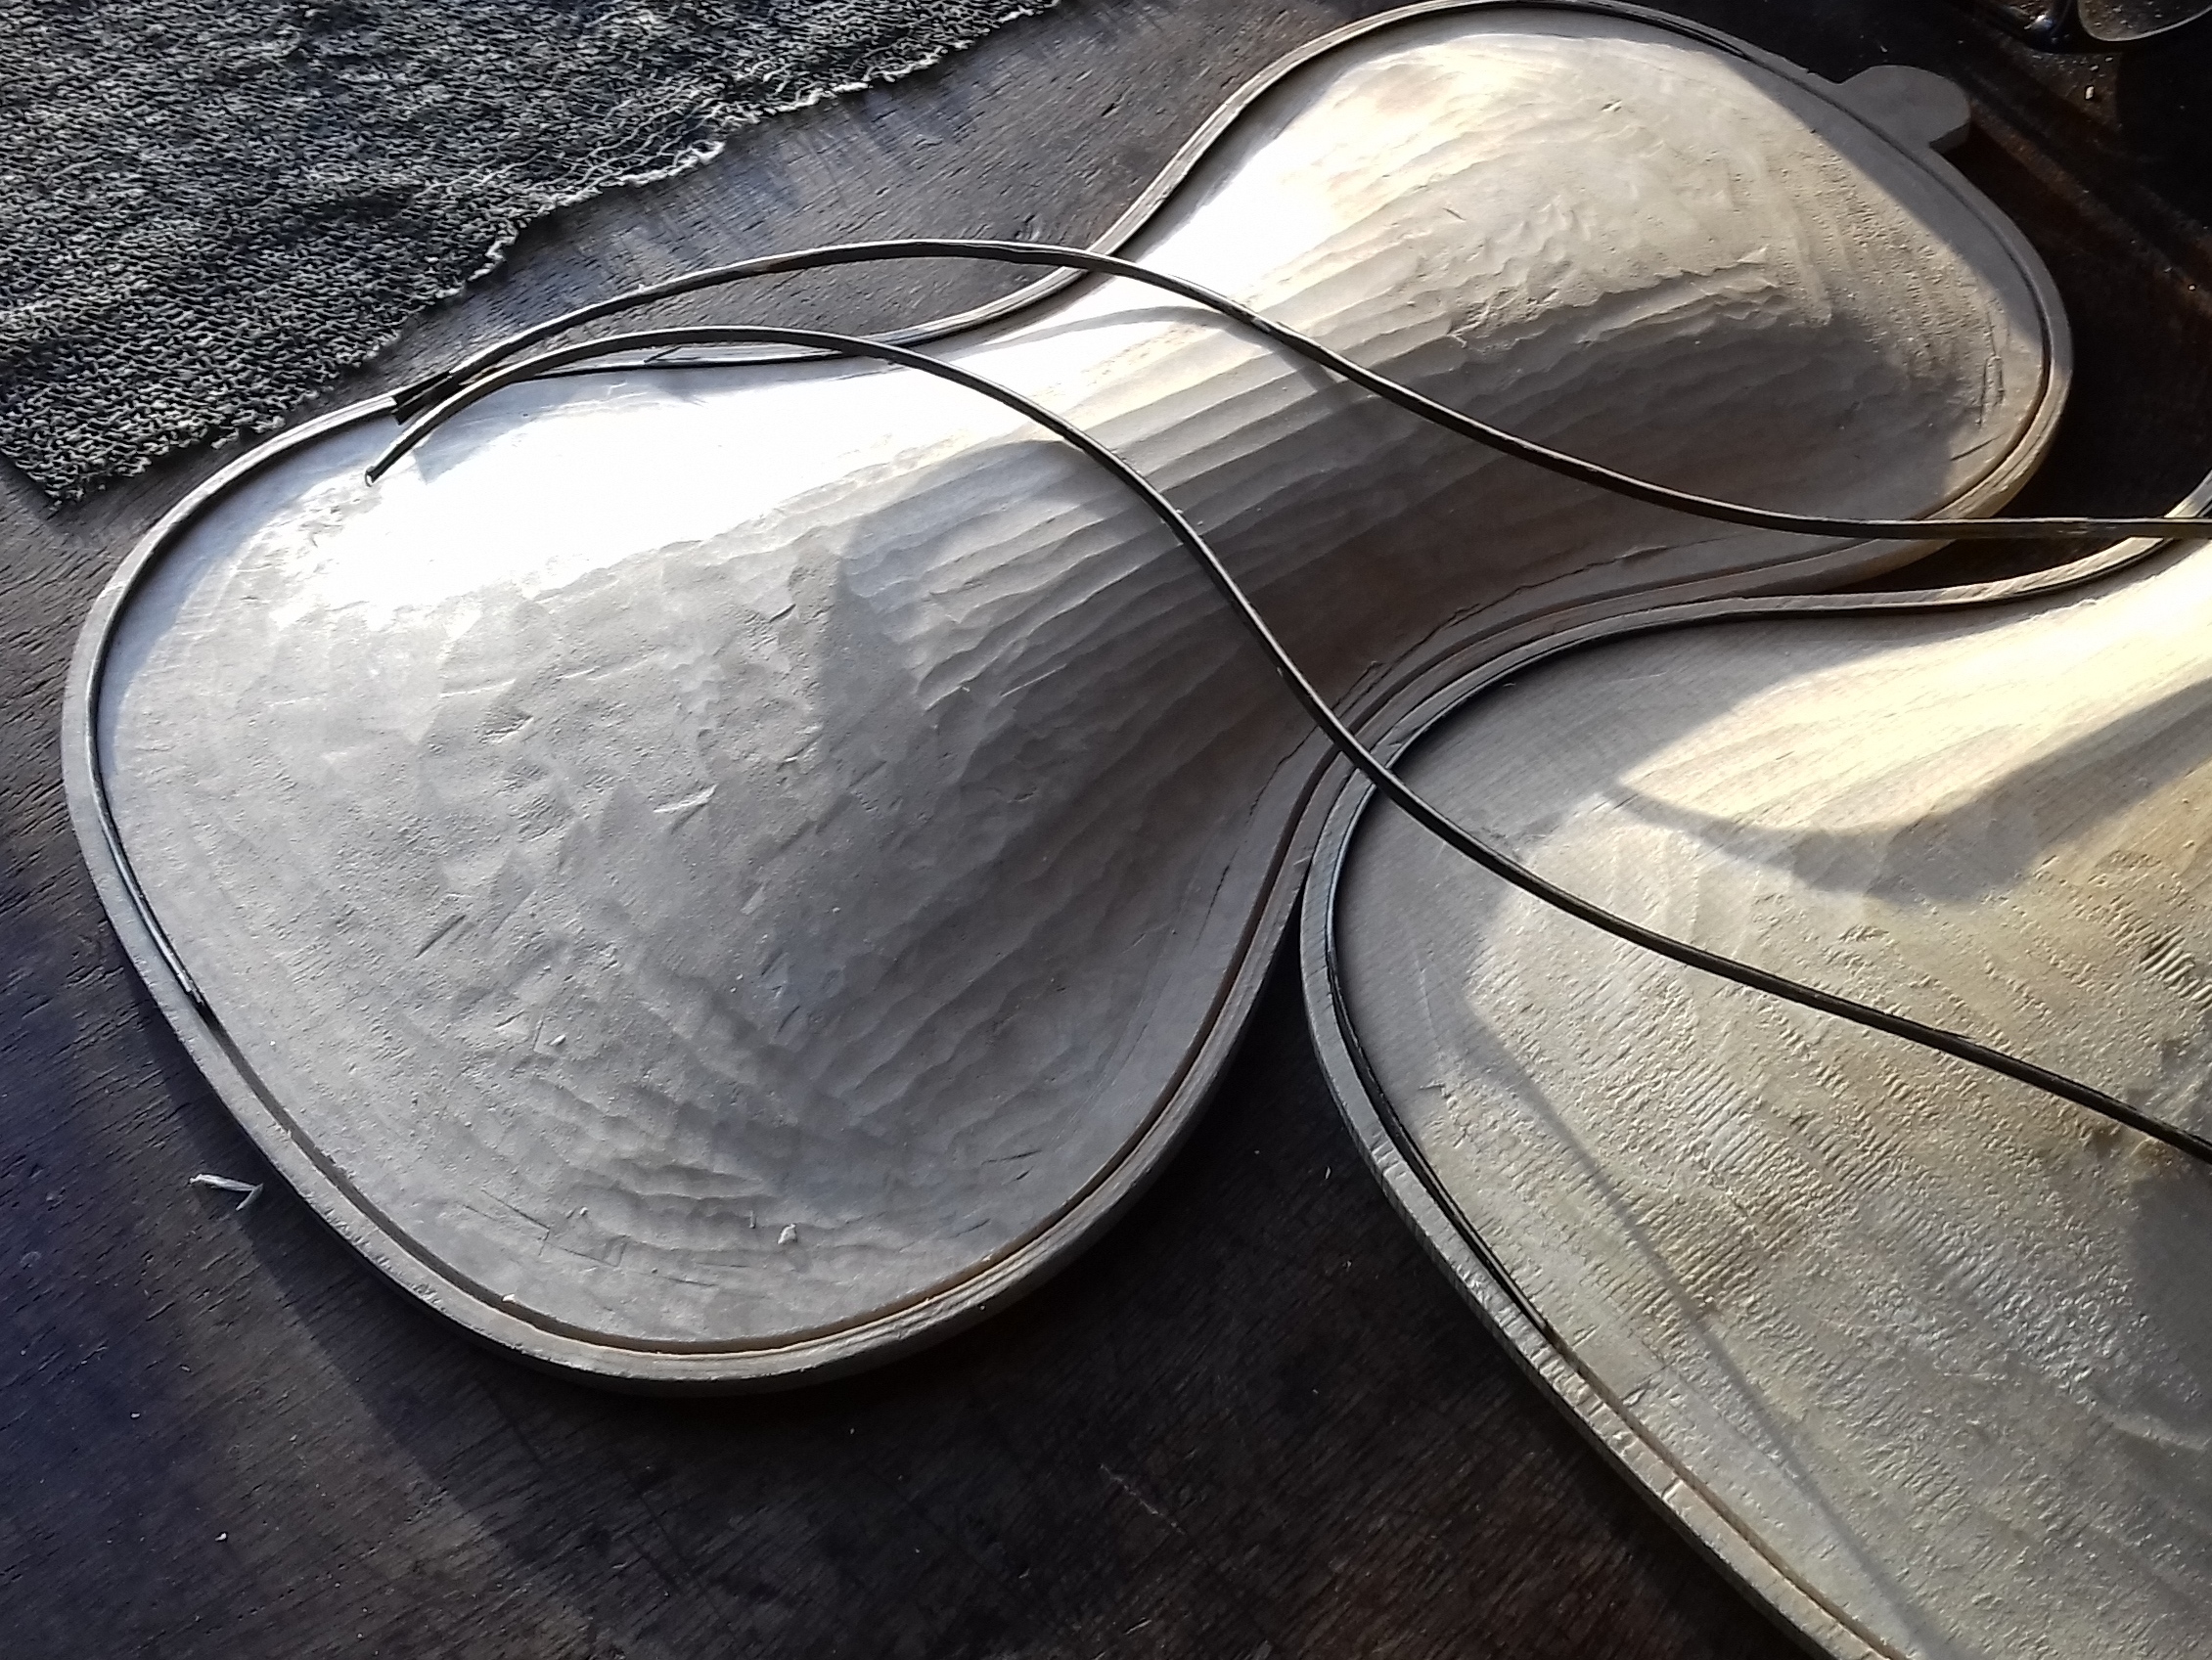
The back on this instrument is a one-piece slab-cut back, more flexible than a quarter-cut piece, which is good for the low frequency sounds. The shimmer of the back under the light show how the back should appear after it is varnished. The big brass plane I use to flatten the plates I made many years ago, and being heavy and flat, it is a delight to use.
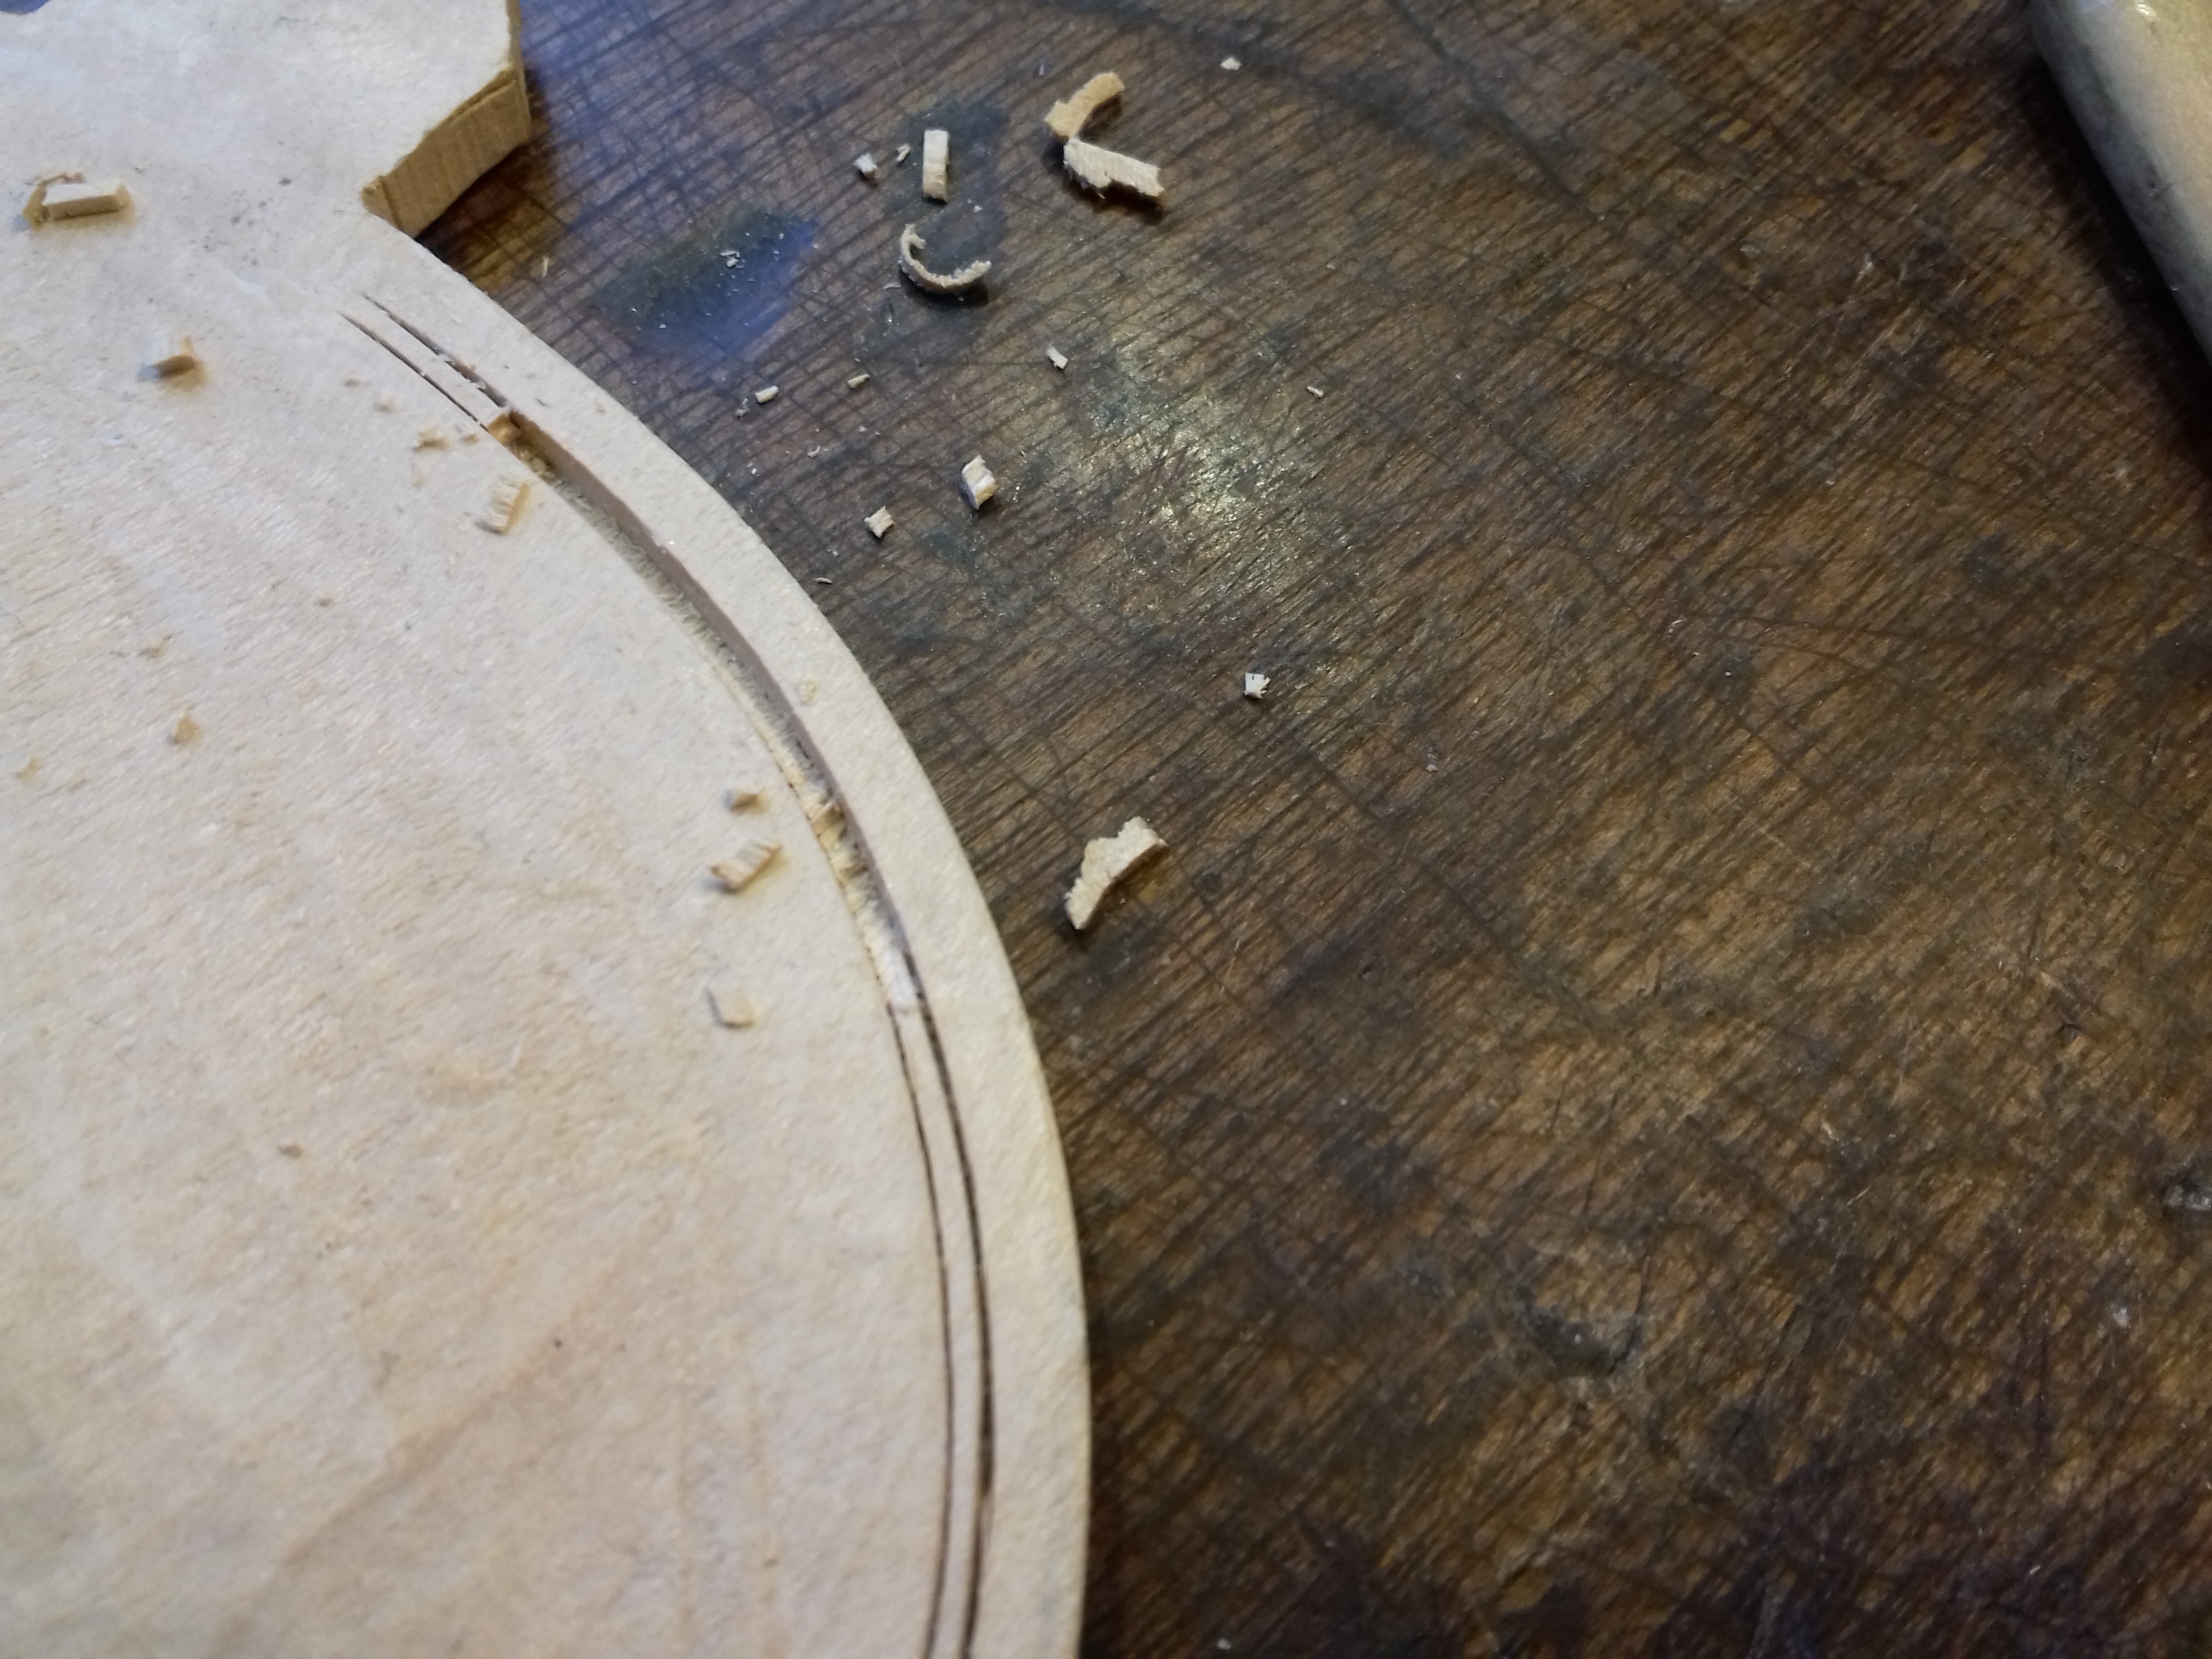
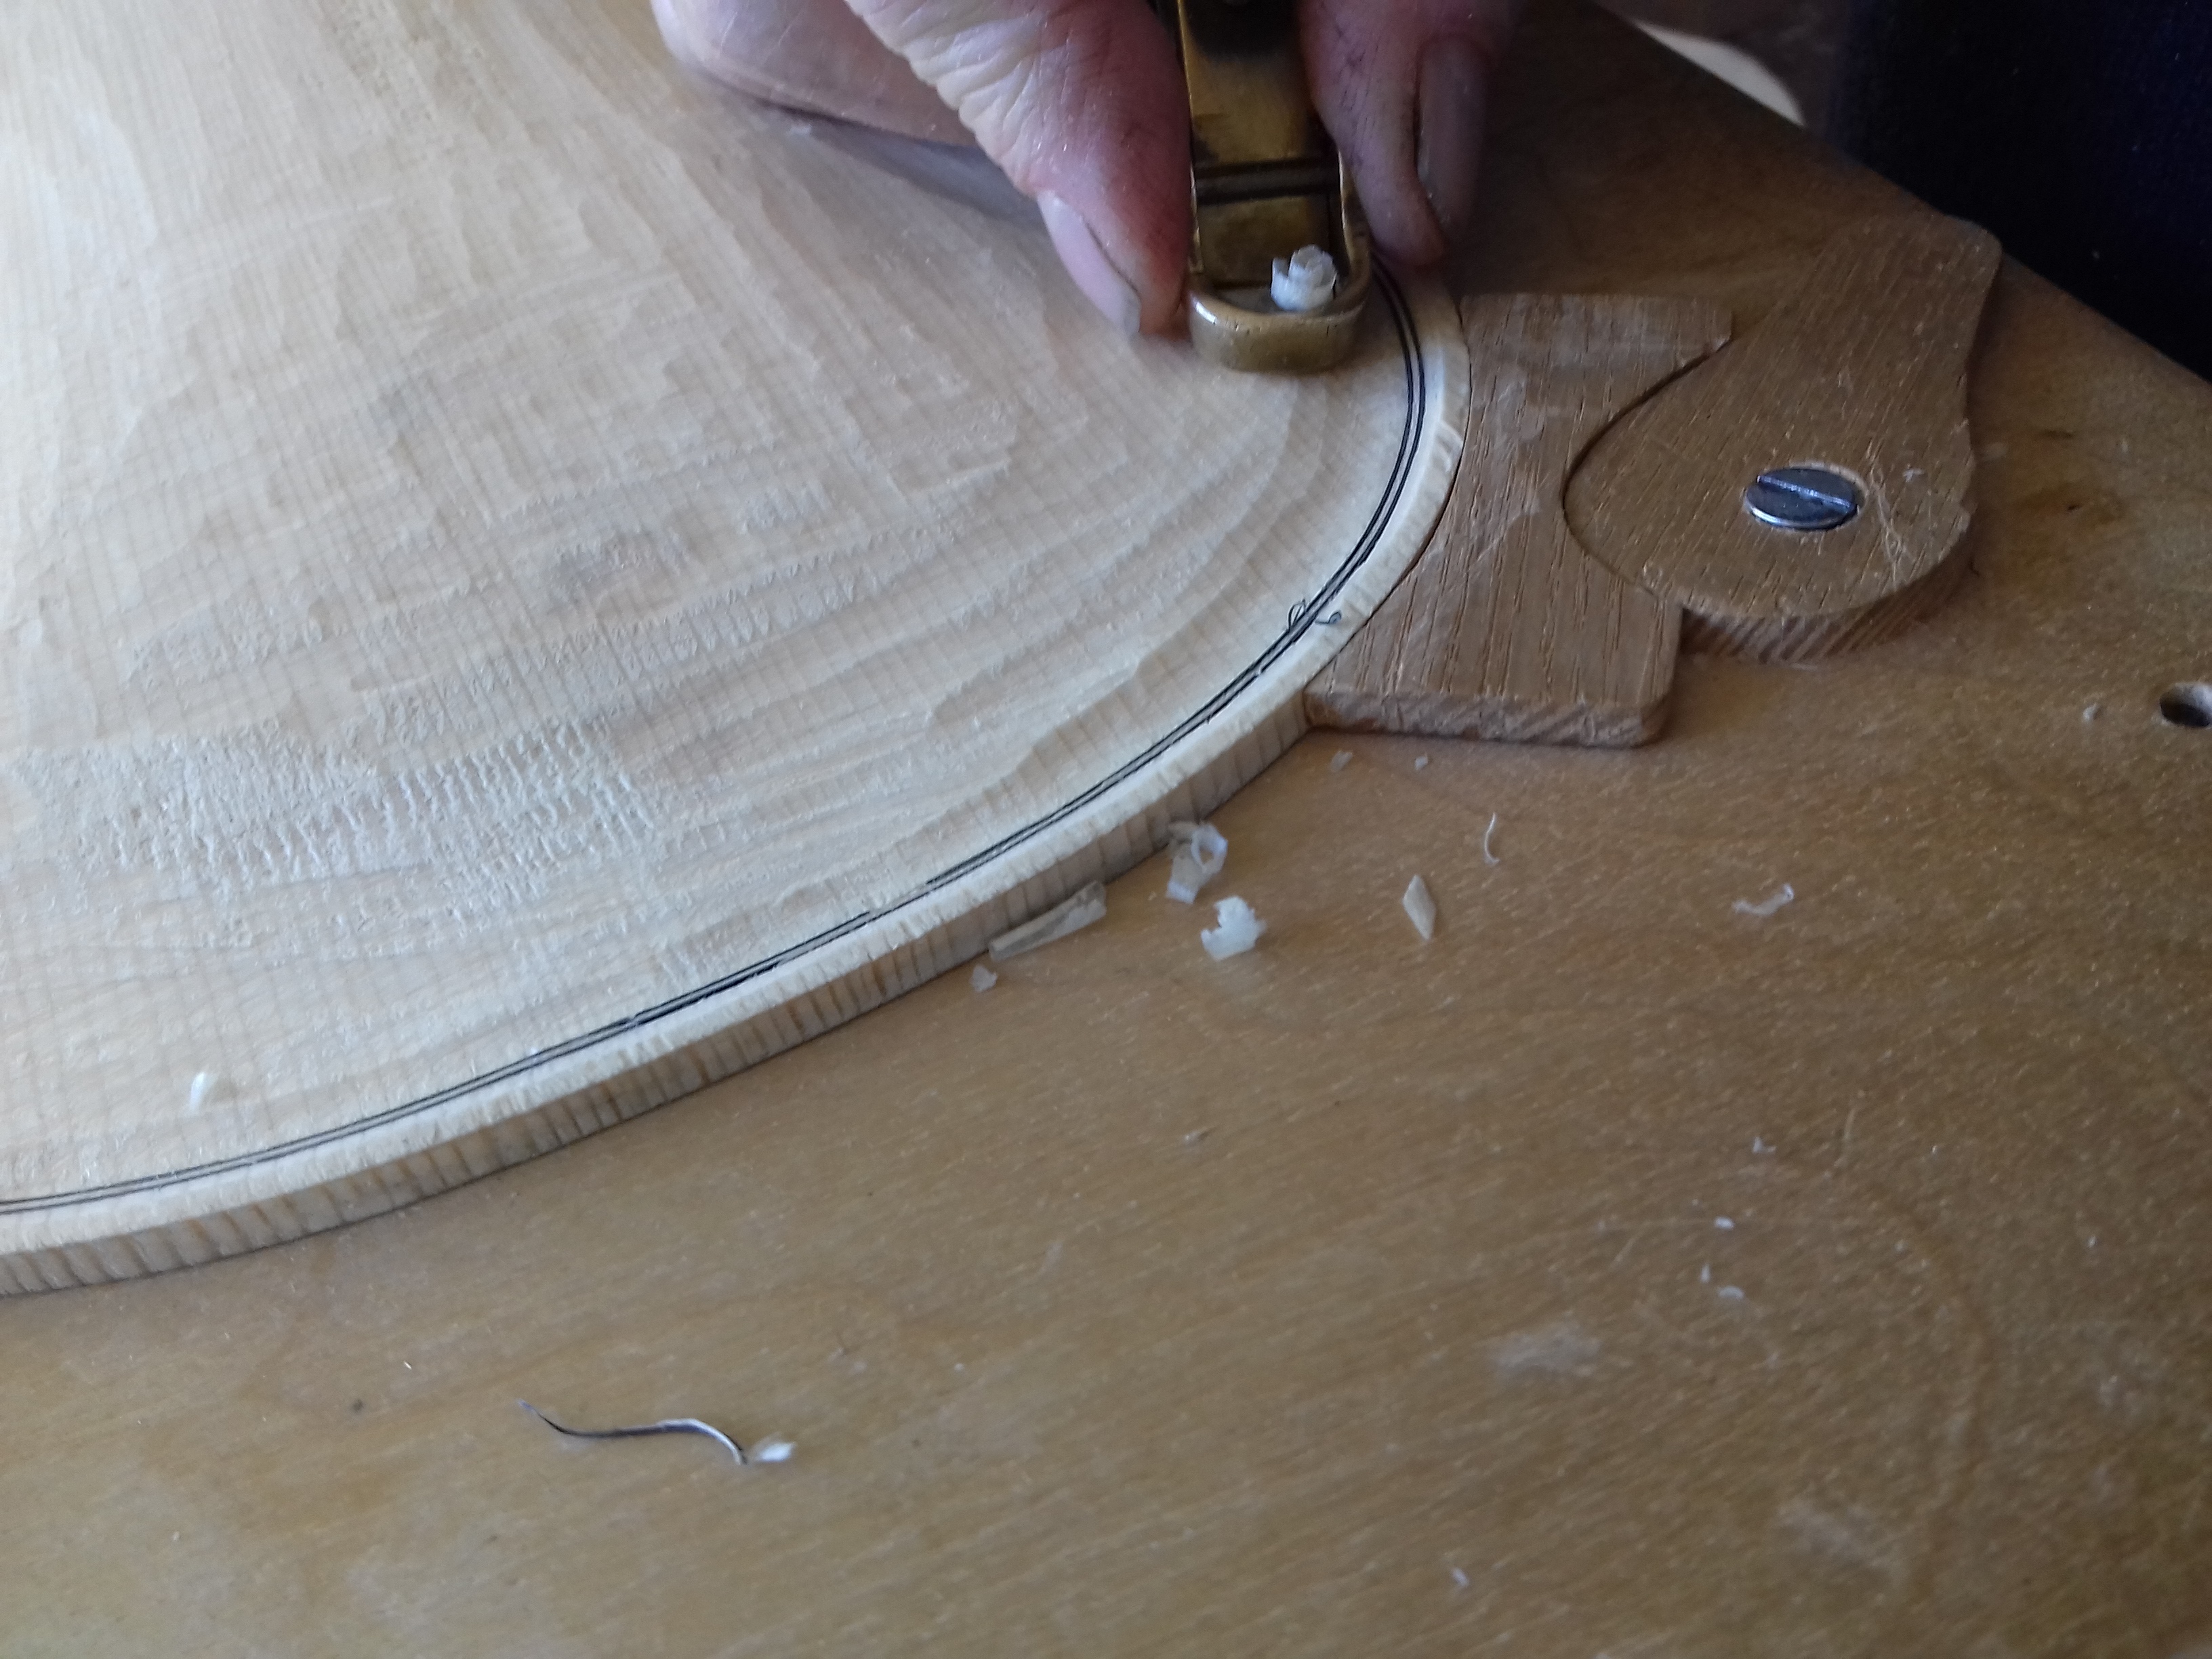
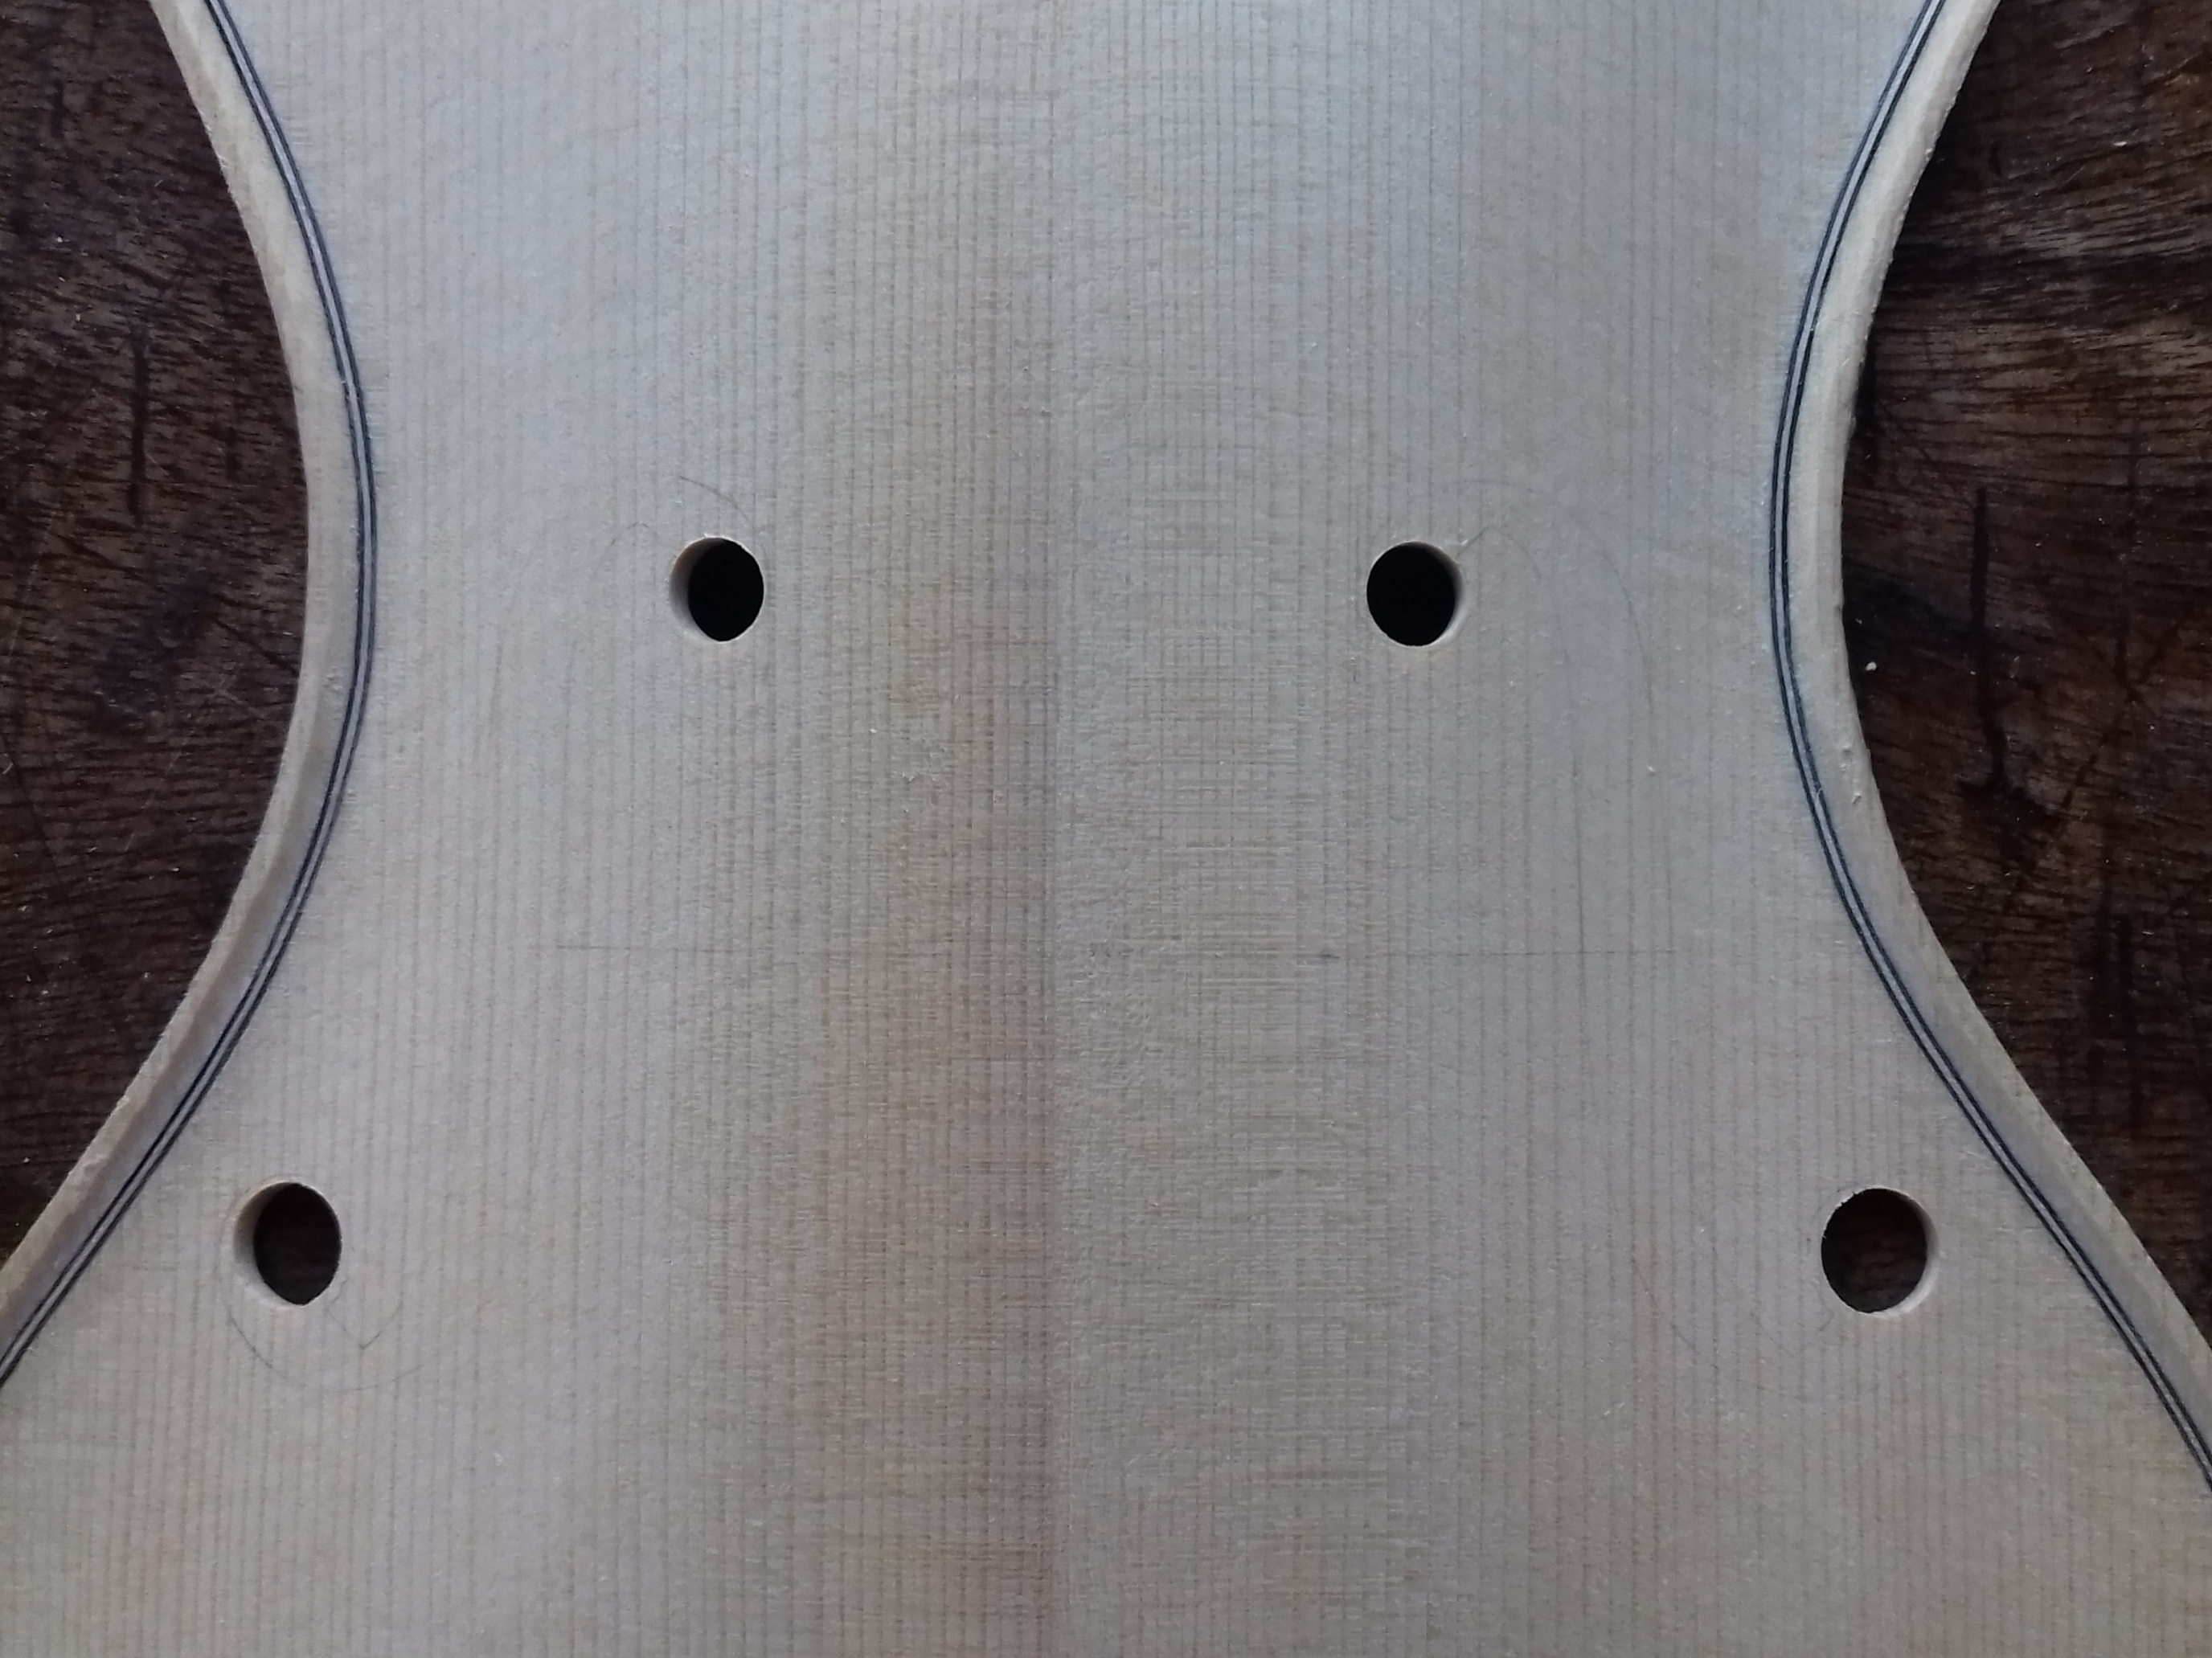
Drawing round the ribs to create the outline, with a washer between the rib and the pencil to create the right overhang. Without corners to draw onto the back and belly, the process of making this outline is considerably quicker than normal, as is the cutting of the purfling groove and fitting the purfling.
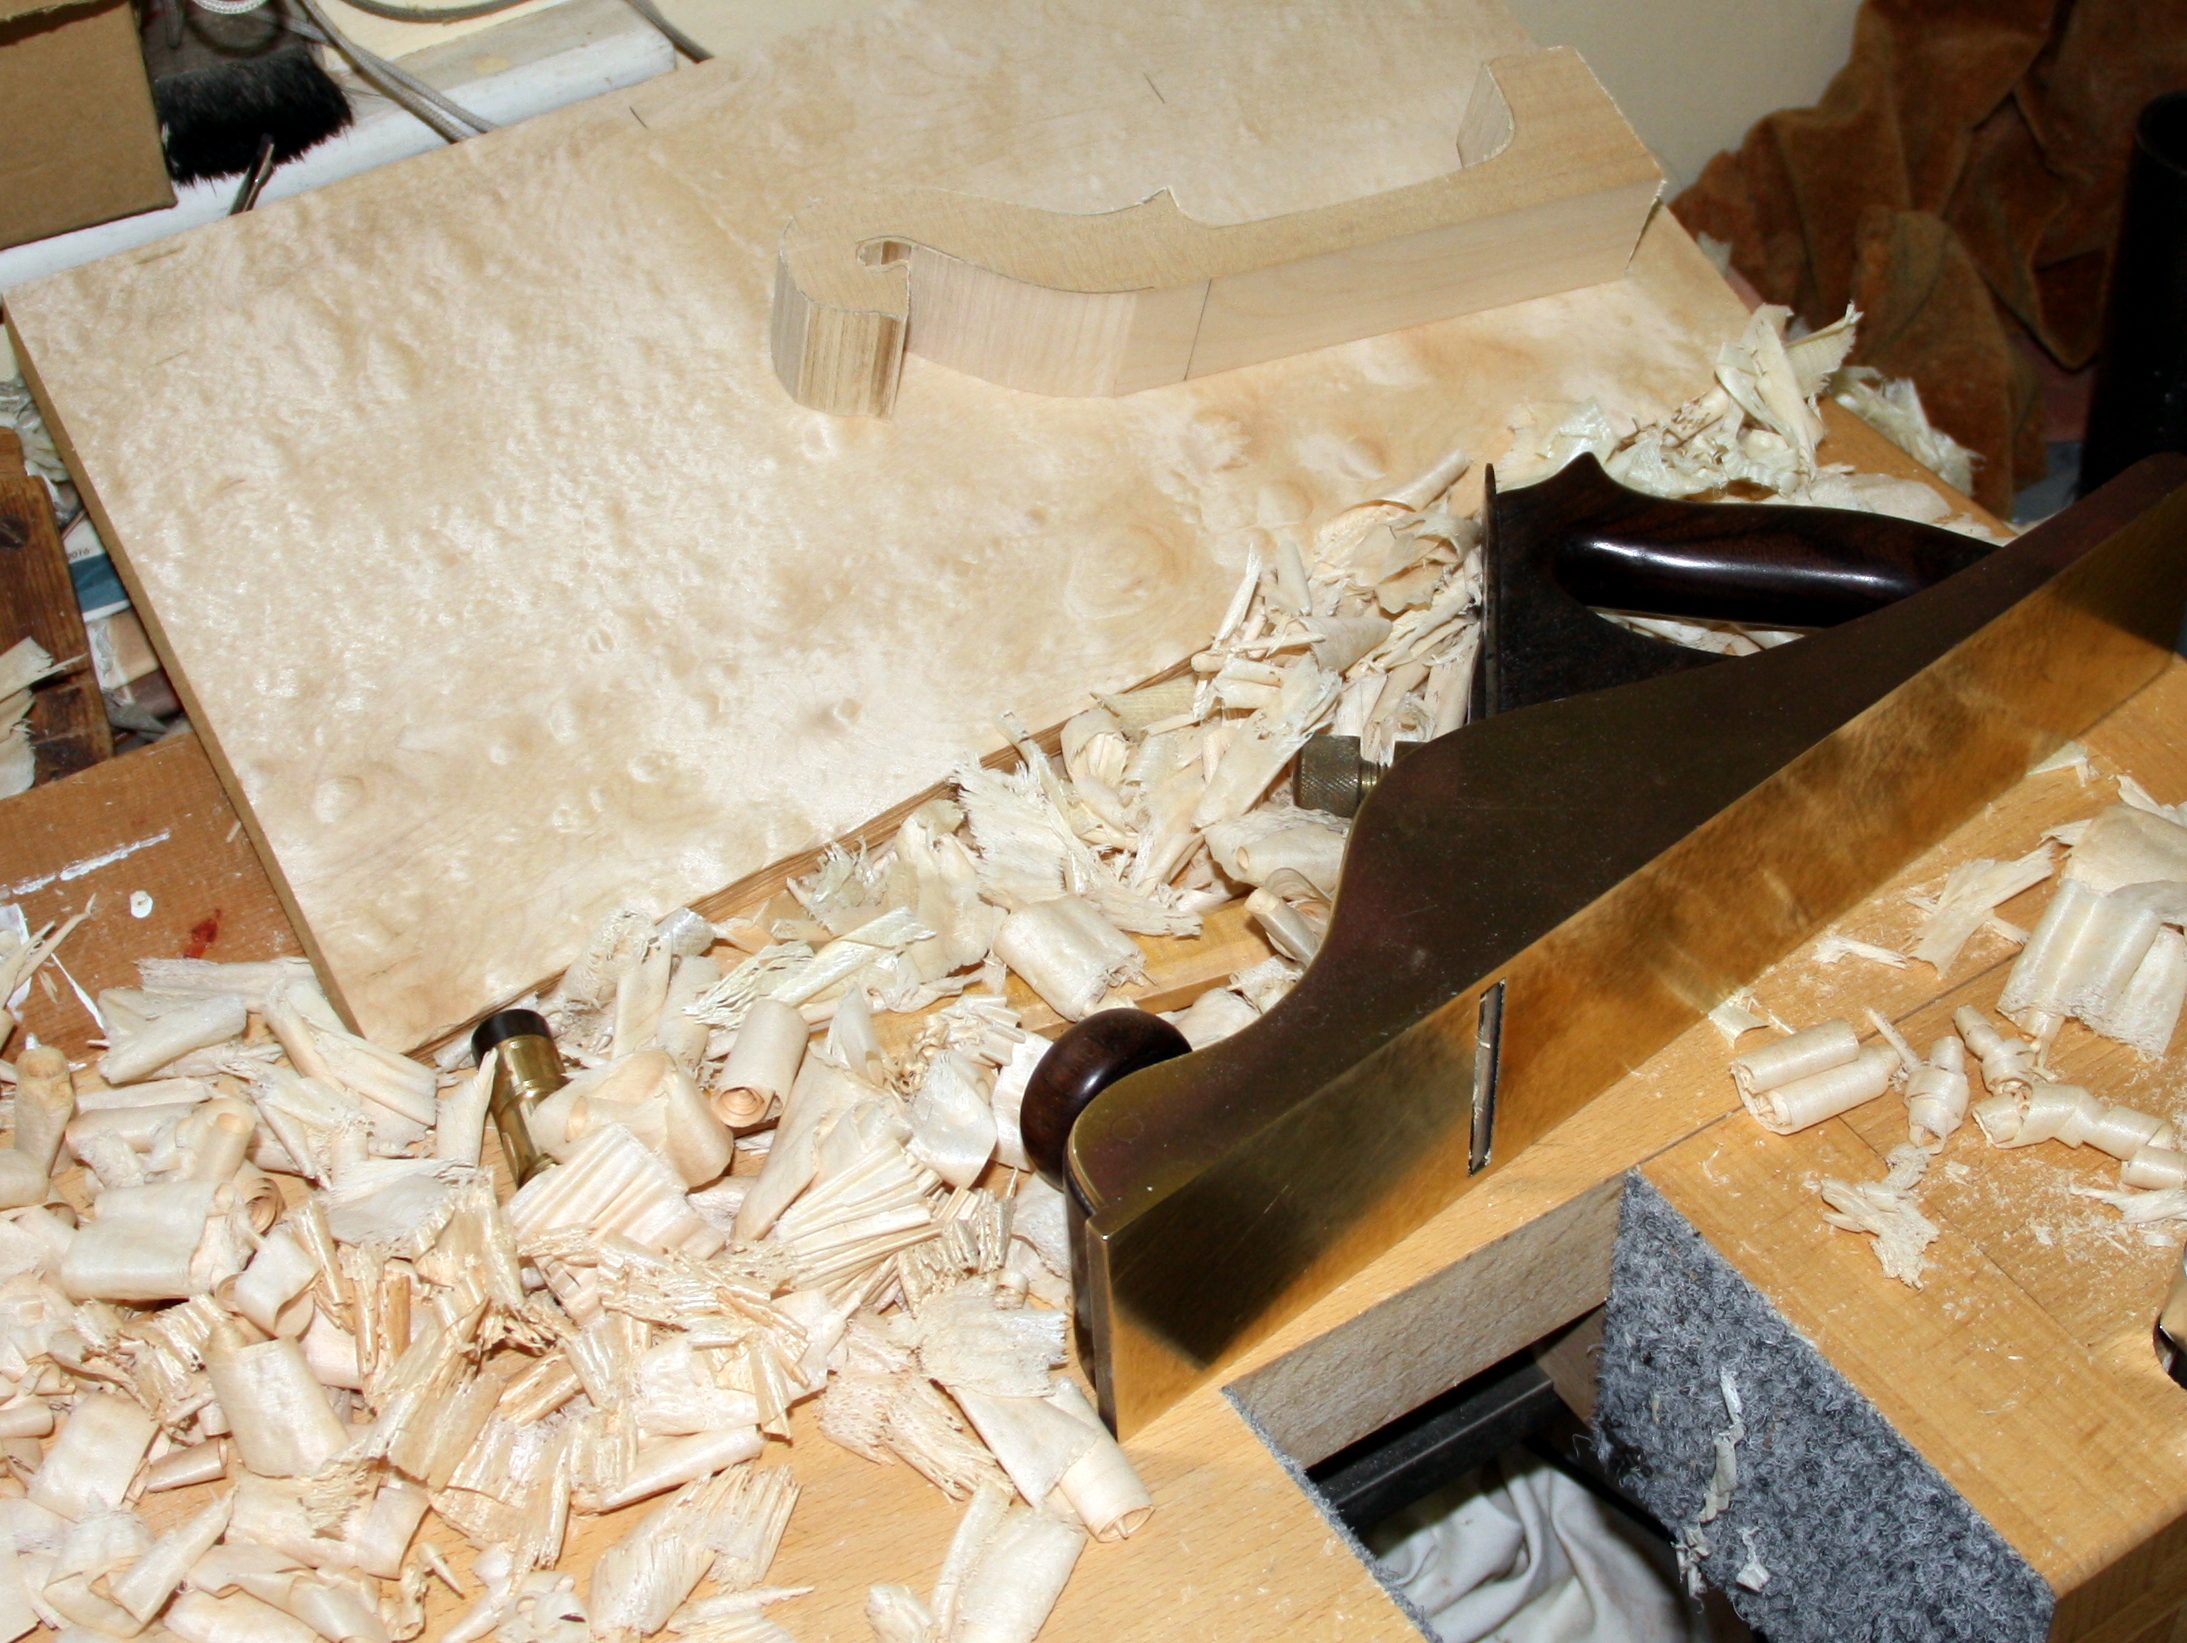


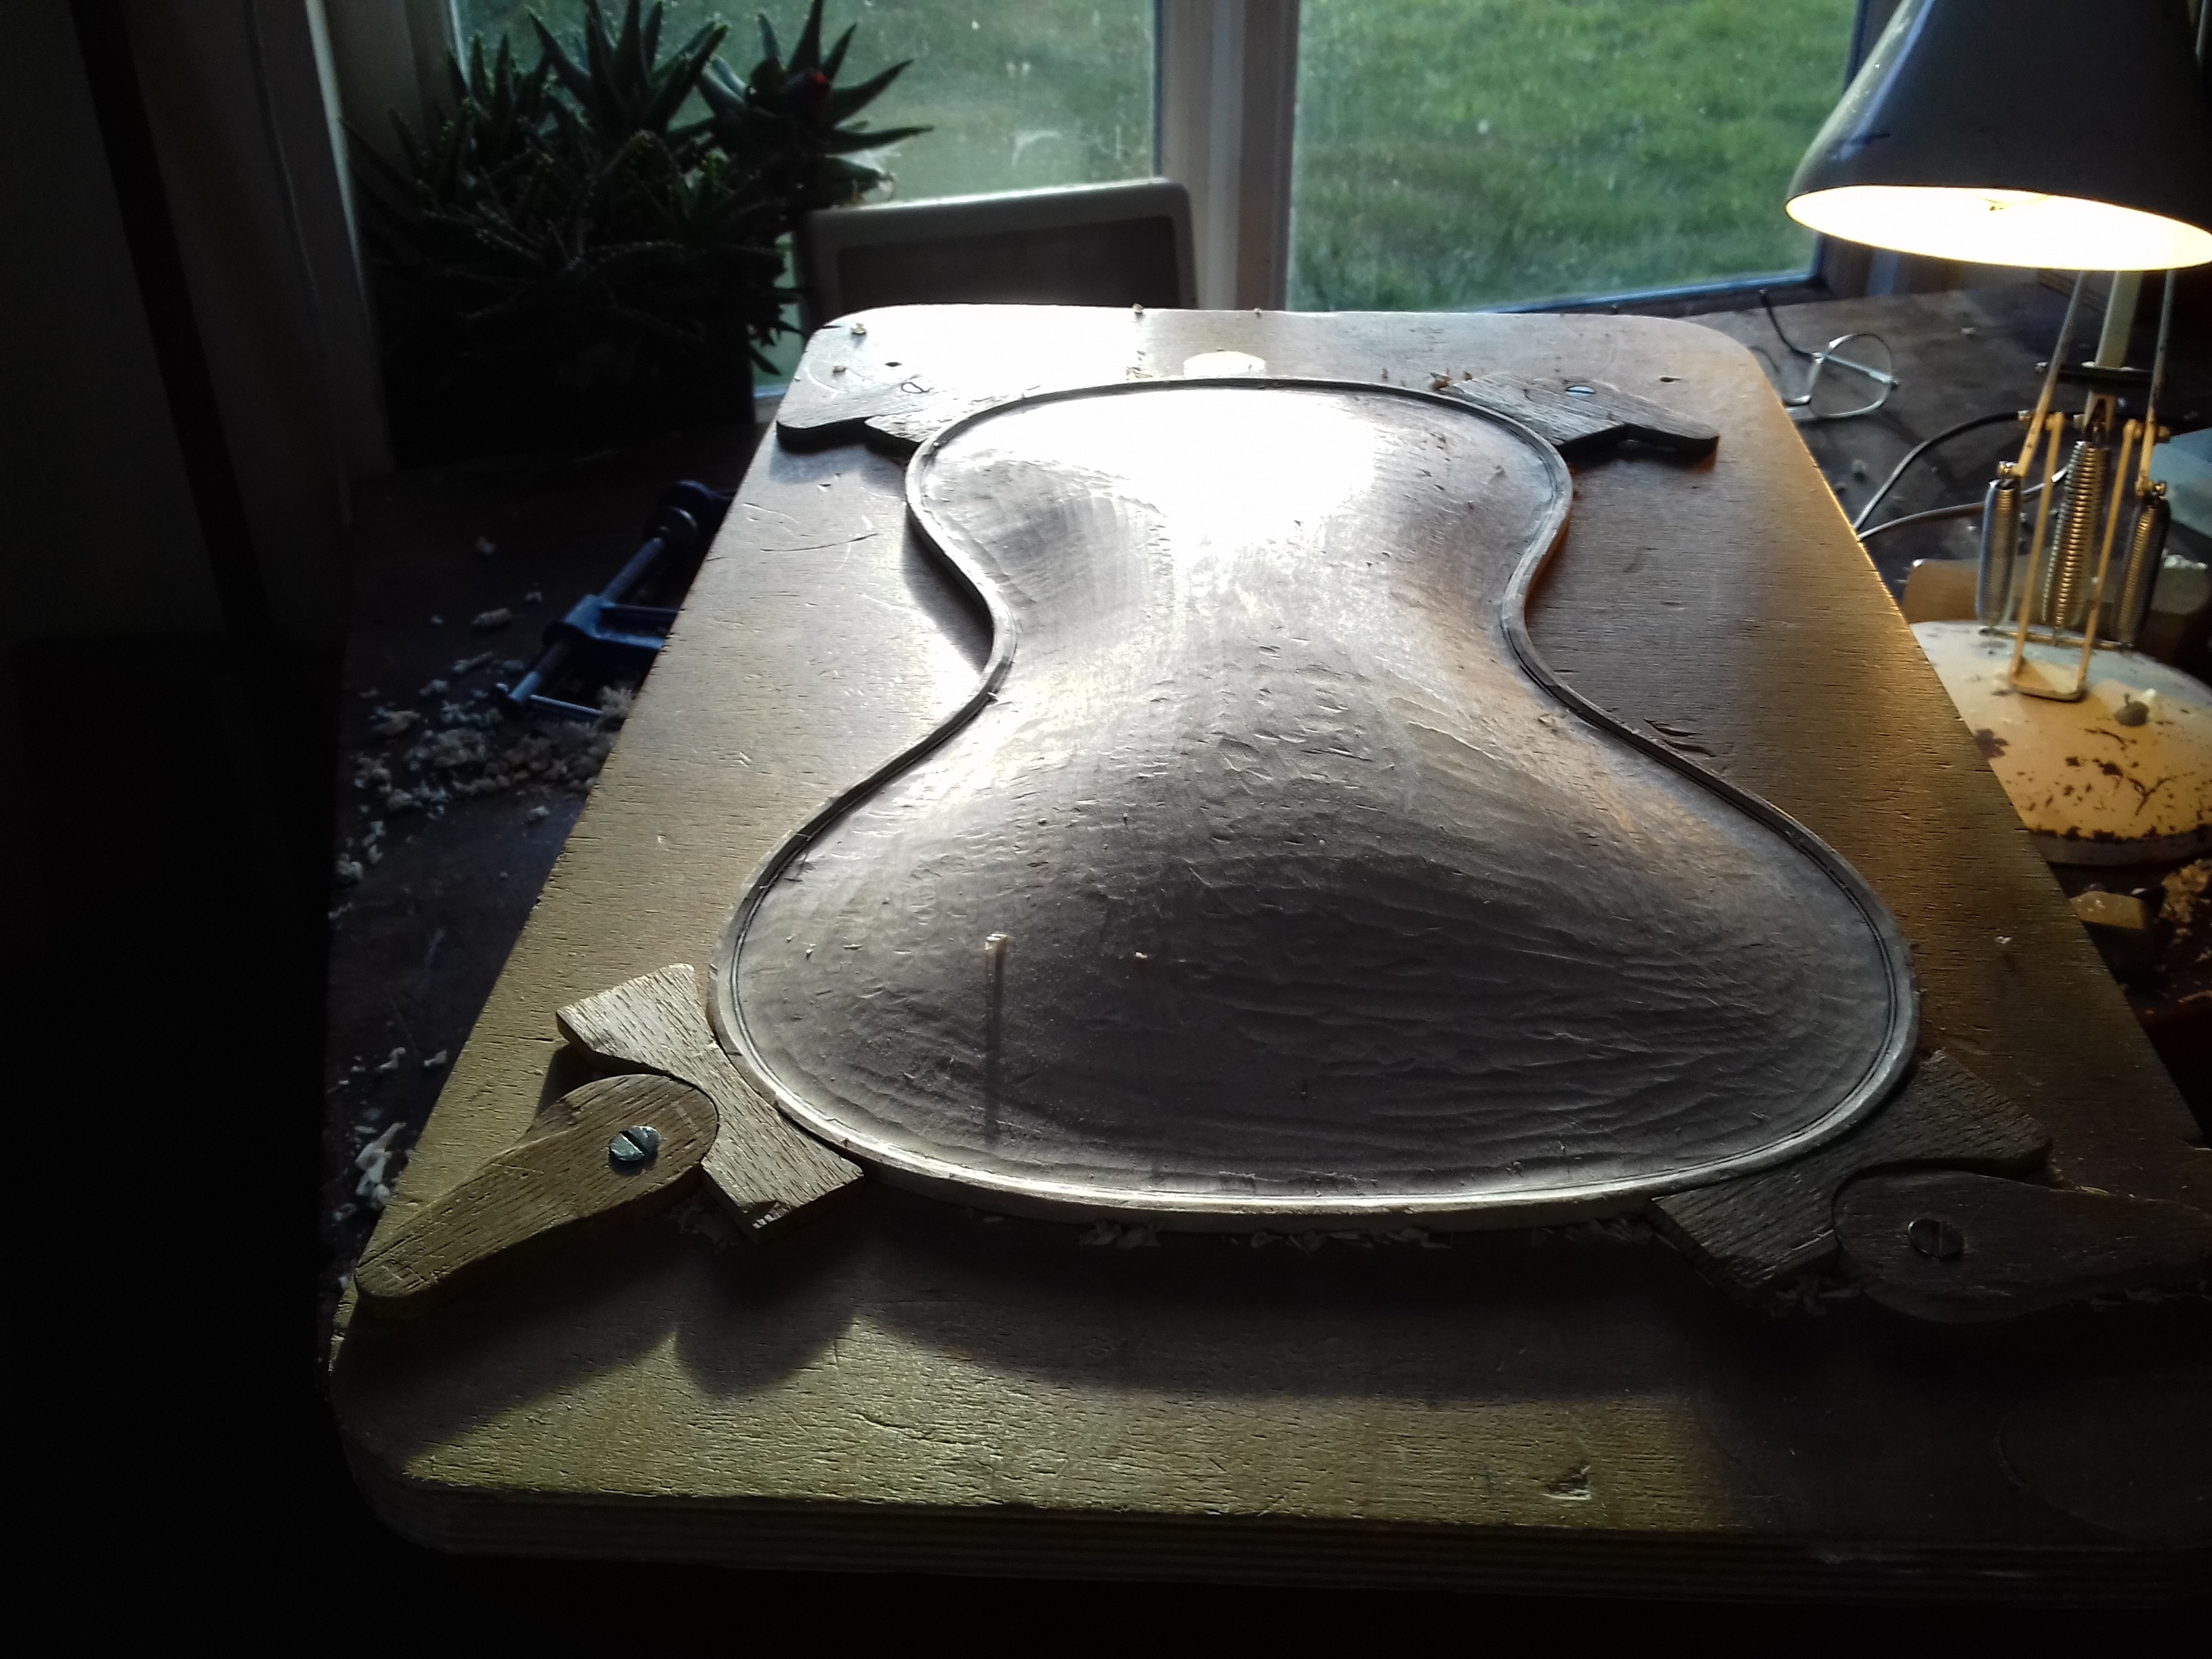
After the glue for the purfling has chance to set, the arching of the back and belly follows. First, I cut the purfling down flush to the plate, then do the rough shaping with a wooden scrub plane. Then I use a gouge to flute round the purfling, creating a u-shaped channel. This leaves a lip between the fluting and the arching, which is the first job for the thumb plane. Then the whole arching is refined with thumb planes. Viewing the plate with light at a low angle, such as on late winter afternoon, allows you to see any lumps and bumps in the arch. Then the surface is scraped smooth with shaped scrapers.
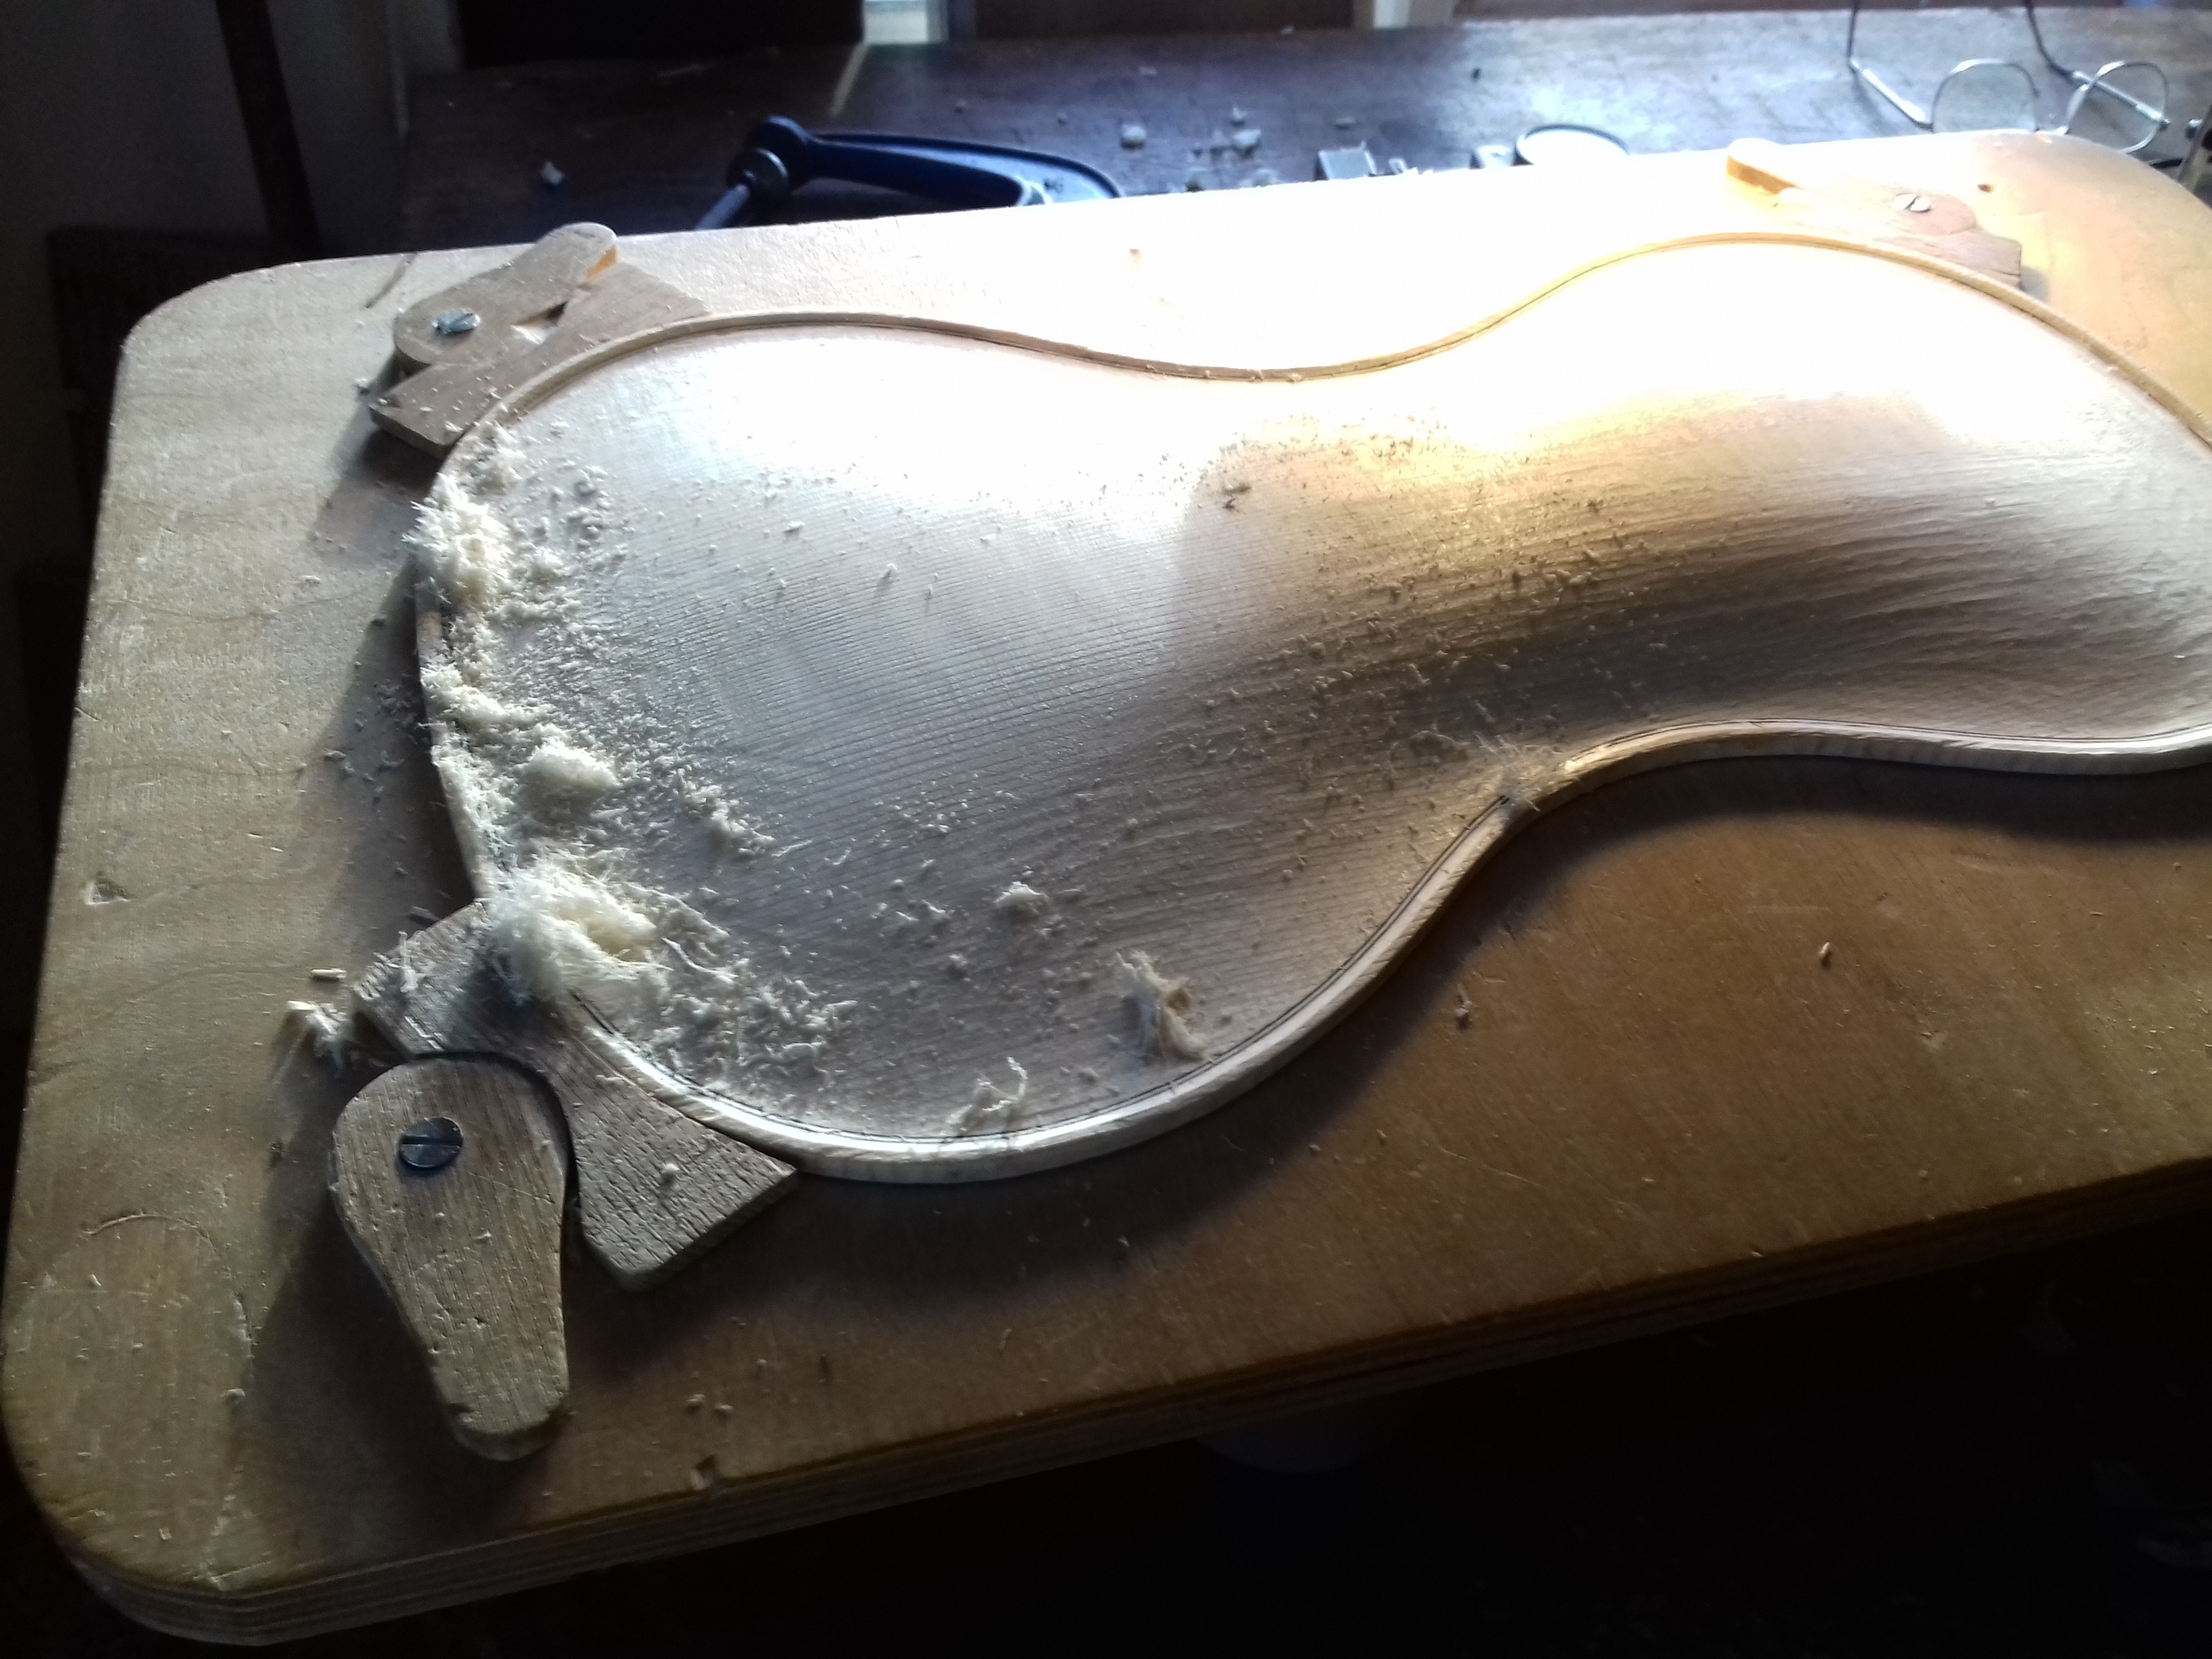
The same tools are used to hollow the insides. When the thicknesses are getting close, I write the thicknesses on the plates so I can see where to remove more wood. Deciding on the final thickness is a matter of judgement. It depends on the strength of the arching shape, the width of the instrument and the flexibility of the wood. I use a few methods to arrive at my decision. I flex the plate between my hands to see how flexible it is, and I push down with a thumb with the plate resting on the bench too. I also tap the plate, holding it near my ear and balancing it on my thumb, to hear what note is produced, and, already knowing the density of the wood, I also weigh it to compare with previous instruments.
The f holes and bass bar on this instrument take just as long as any other instrument. The round holes are cut out with a special hole cutter, then the middle bits are sawn out with a fine-toothed fret saw and finished with a knife. The bass bar is a new design, created by Portuguese violin maker Christian Bayon, which is stronger than normal, but has two cut-outs underneath. This gives the plate more freedom to move, and on two previous violas where I replaced the traditional bass bar with this newer style, both showed significant improvements in openness and freedom of sound.

Once the back and belly are glued onto the ribs, the outside edgework is rounded. This is a job to take slowly as elegant edgework just lifts the whole visual effect of the archings, just as the right frame can enhance a painting.
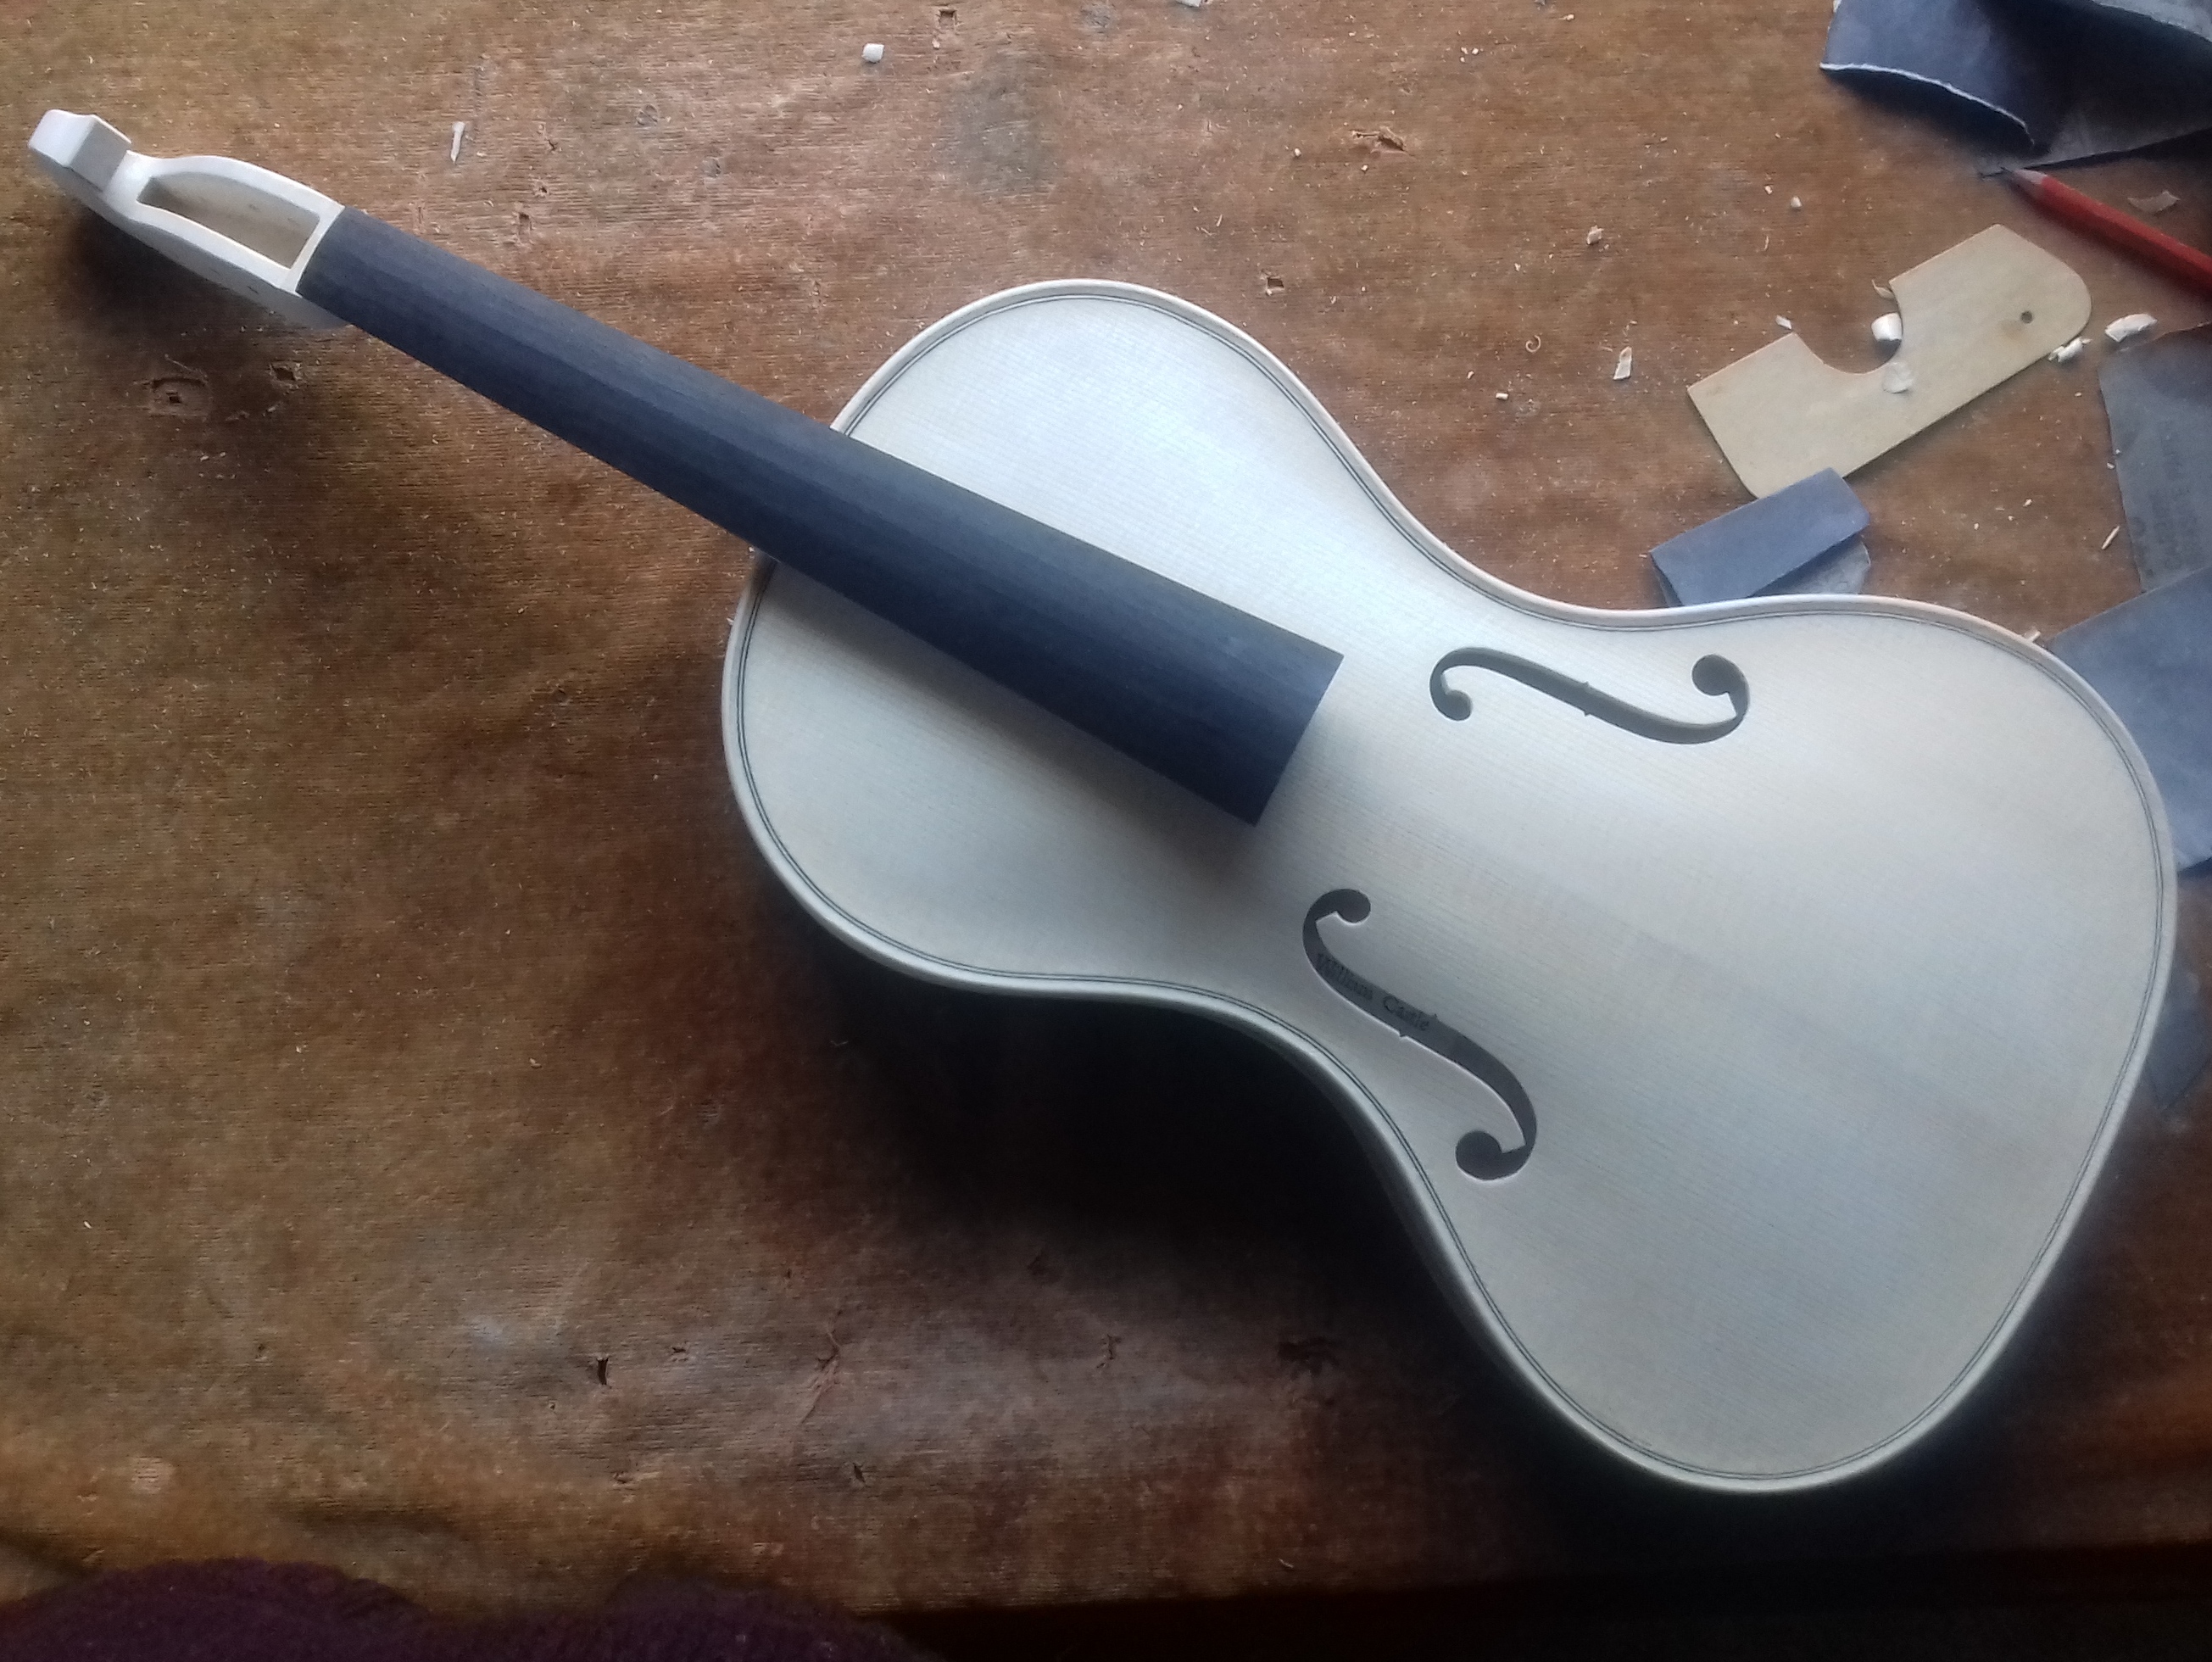
The head on this little viola is a much-simplified version. The pegbox is as normal, but the scroll is replaced with a form used by Stradivari for his dancing masters’ kits, which simply ends in a square shield. Although a scroll is an intriguing and delightful thing to carve, it is an adornment I can’t justify on this instrument.


The final pictures show the sides of the neck being cut away in advance of fitting the neck, the neck glued in place, always a relief as it marks the end of a very exacting job, and for the first time the whole thing looks like an instrument. Then the neck is shaped with knives rasps, files and scrapers; another exacting job as the neck has to work extremely well in the hand.
Once the neck is completed, the woodwork is finished!
There are more pictures and some videos on my Facebook page – William Castle Violin Maker